
Four little-known iPhone features that will change your life
This little-known iPhone feature will save heaps of time and even increase security in a matter of seconds.


Smartphone
Don't miss out on the headlines from Smartphone. Followed categories will be added to My News.
REVIEW
If you’re looking for ways to increase your productivity while using your iPhone, look no further. Whether you’re a student, a professional, or simply someone who wants to get things done more efficiently, I’ve got tips and tricks that can help you make the most of your iPhone. Even a sneaky iPhone hack that allows you to lock your Notes from prying eyes.
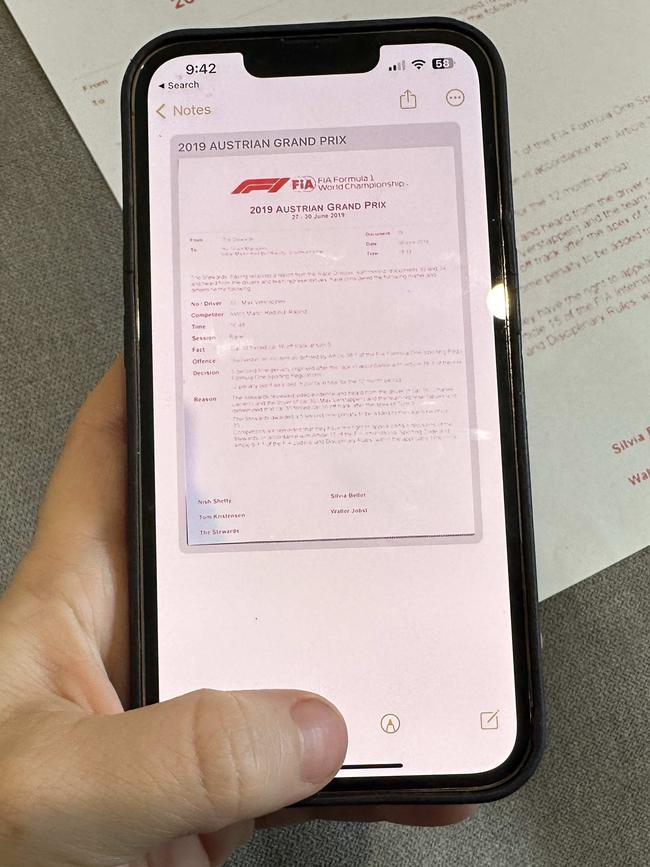
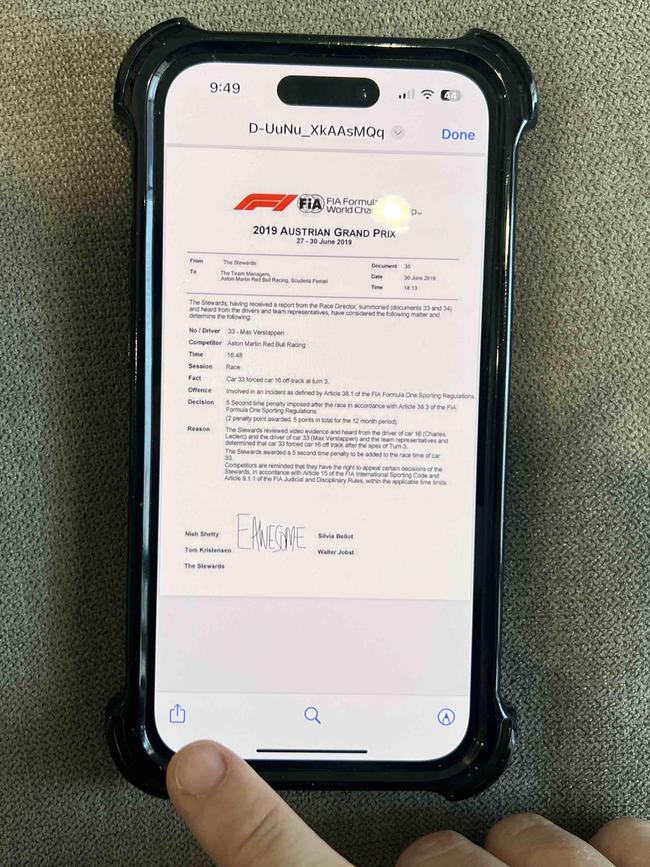
Scan documents using your iPhone
Did you know you can scan a document using your iPhone? If not, you’re missing out on a seriously convenient feature.
To scan a document, first open the Notes app and select a note or create a new one by tapping the box with a pencil icon in the bottom right corner of your screen.
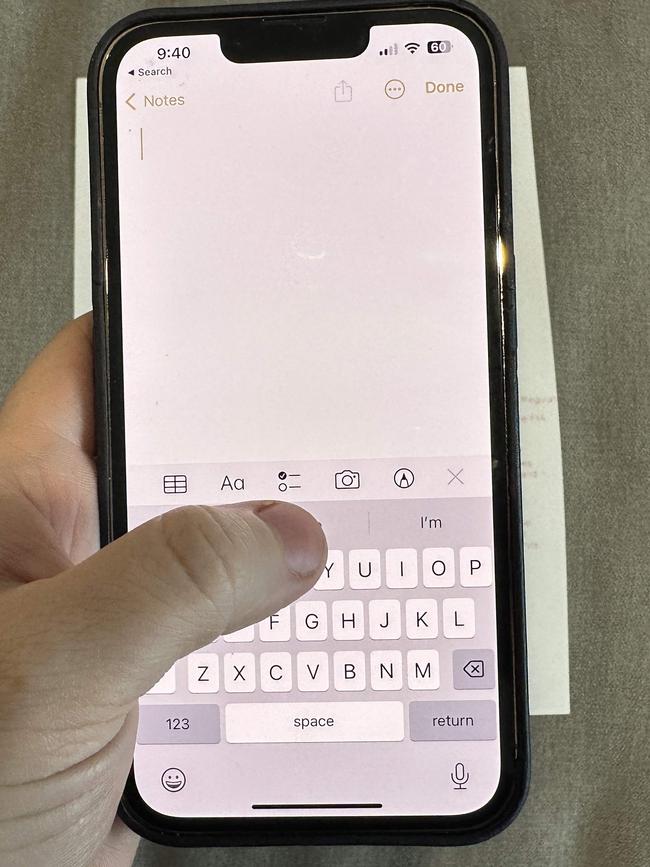
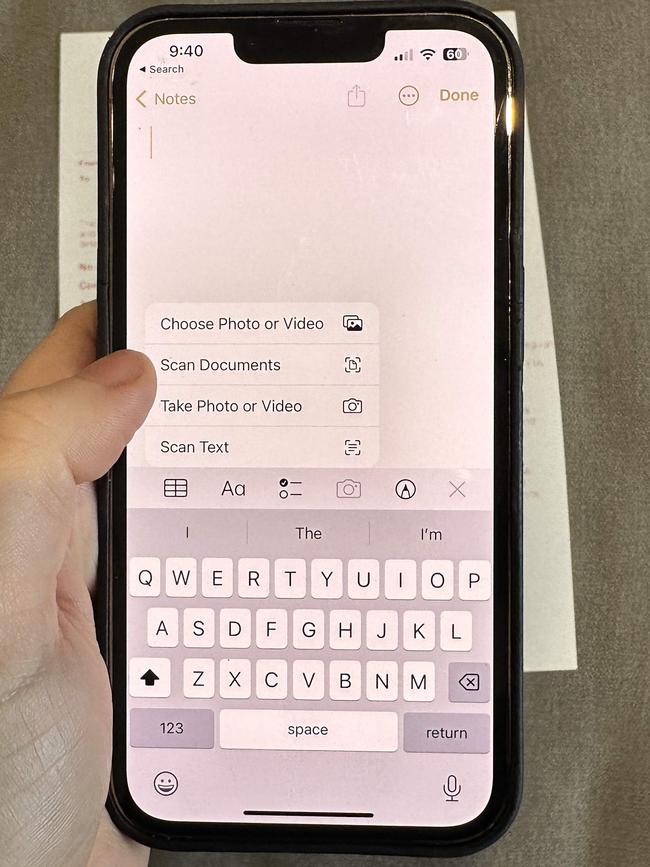
Next, tap the Camera button and choose Scan Documents from the options that appear.
Position your document in view of the camera, and if your iPhone is set Auto mode, it will automatically scan your document. You can toggle between Auto and Manual mode from the top right hand corner of your screen.
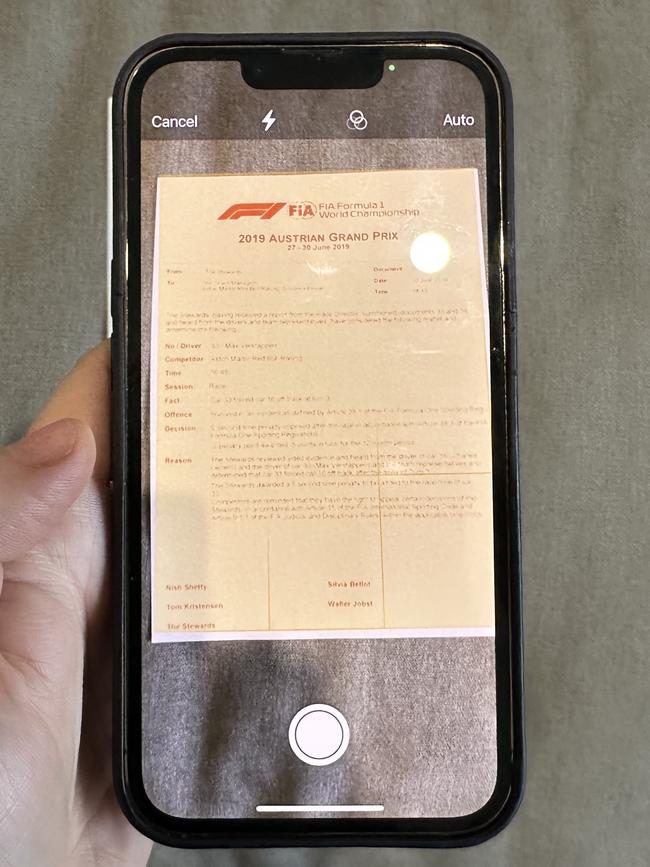
To manually capture your document, tap the circular Shutter button or use your Volume Up button. In this mode you can adjust the crop of the scan. You can continue taking scans with the shutter button to add additional scans to the document and then tap ‘save’.
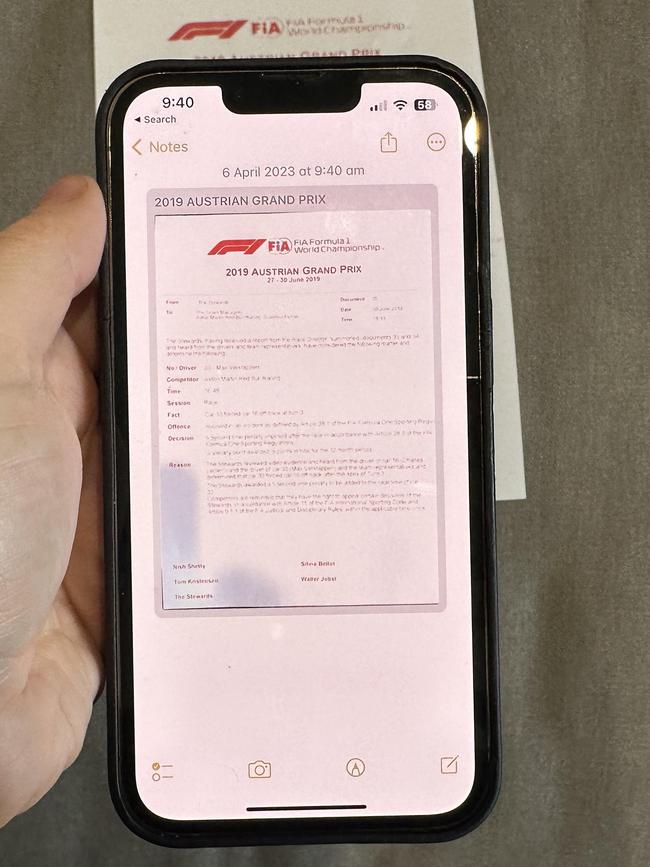
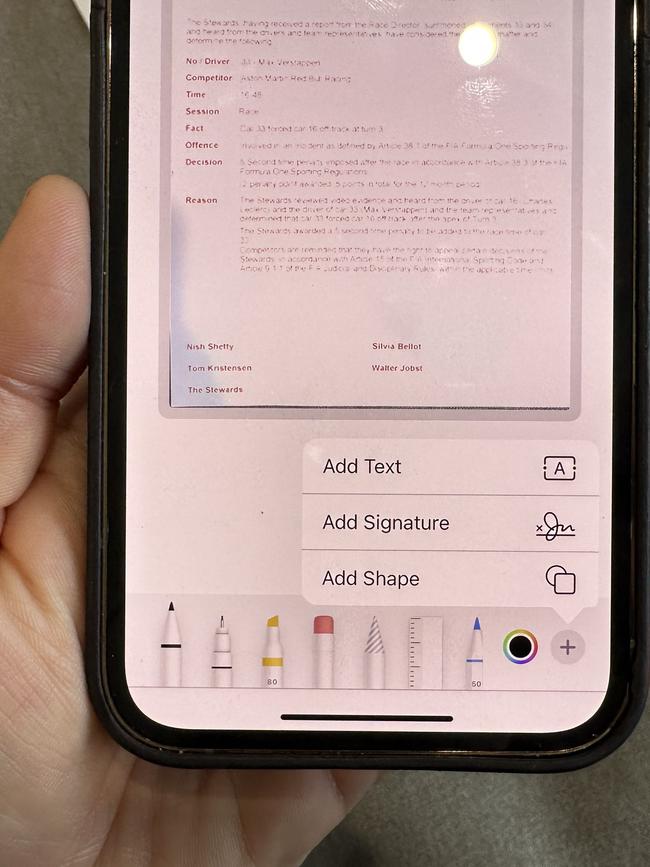
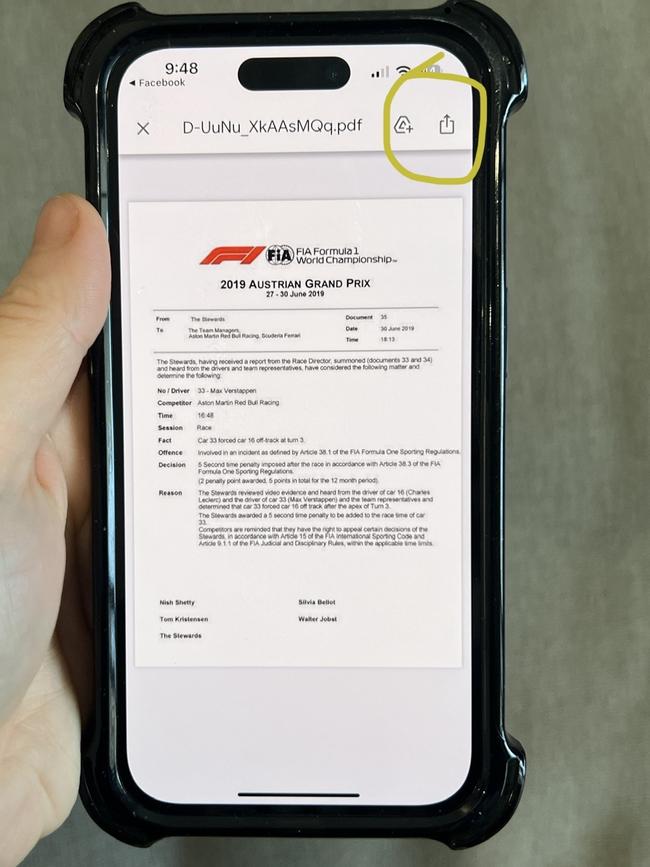
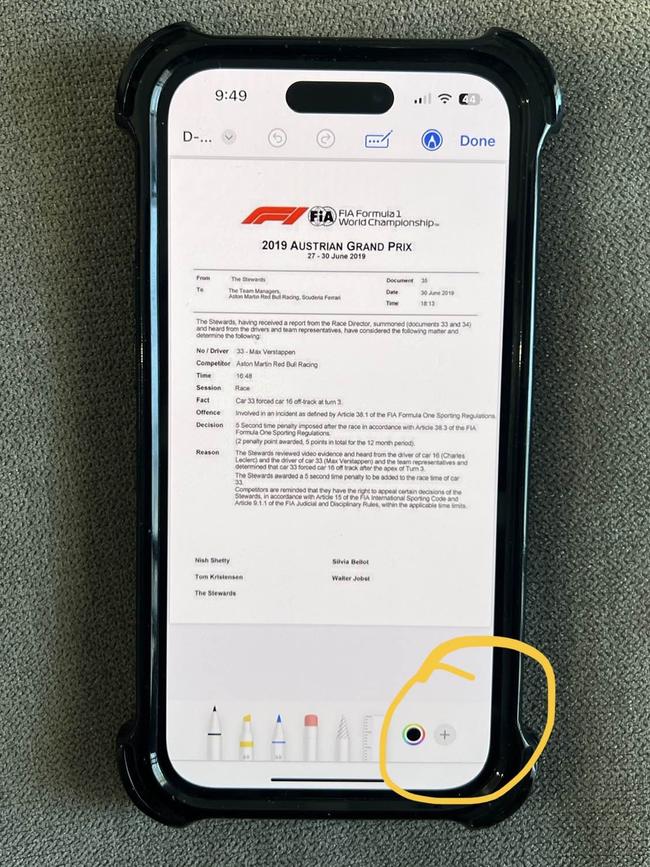
Once your scan appears in your note, you can share it by tapping the share icon which appears at the top of your screen. It looks like a box with an arrow pointing upwards. You can then choose to print, save to files, text, or email on your document. Additionally, you’ll notice an option to ‘Markup’ the document.
Markup your documents
In addition to scanning a document, you can also digitally markup and sign documents right on your iPhone, instead of having to find a computer to do it. For me, that means filling in and signing contracts on the go and luckily I can conveniently do this in my email app.
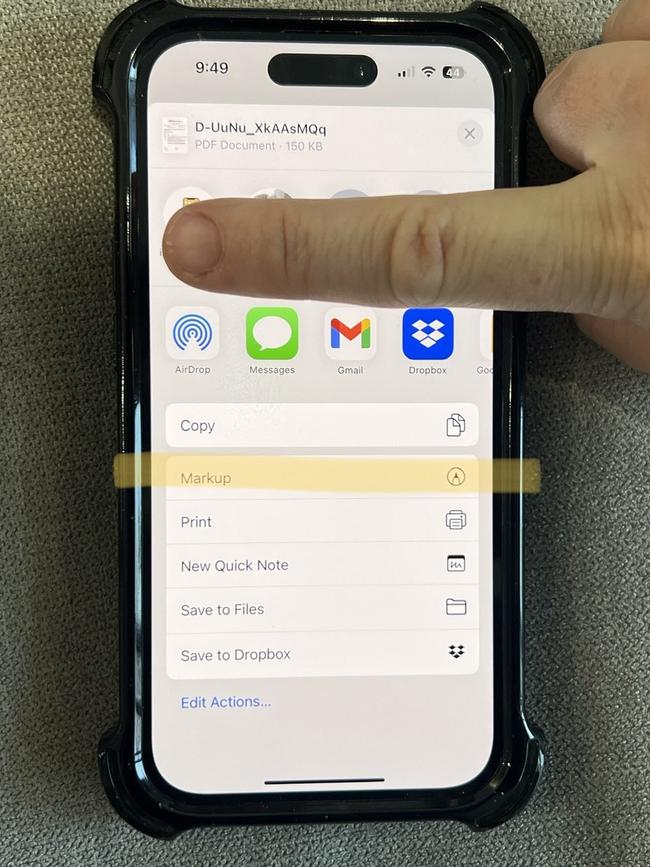
To do this, firstly, access your email and find an attachment that you’d like to fill in or sign. Then tap and open the attachment. If you’re in Apple’s Mail app, look for the blue icon which looks like a marker in a circle and tap that.
If you’re using another app like Gmail, tap the share button, which is a box with an arrow pointing straight up, and then find the Markup icon.
Now you’ll be able to write on the document by choosing a marker and scribbling directly onto the document. Or you can click the plus icon in the bottom right hand corner to add text or your signature.
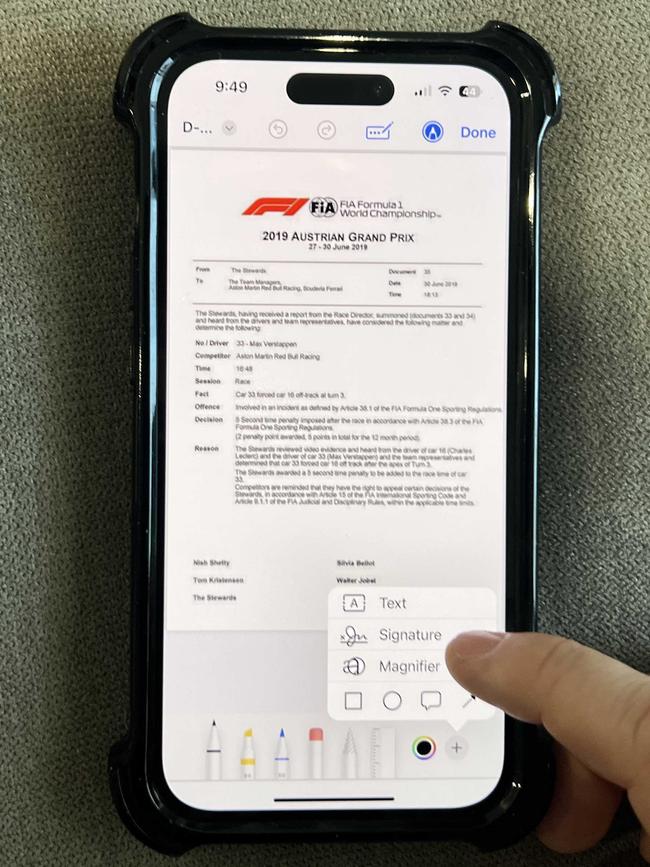
If you need to add a signature for the first time, click add. Tip: you can turn your phone sideways (with rotation lock off) if you need more room to sign. Now, simply select and add your signature to the document. You can then move or stretch the signature to a size that suits.

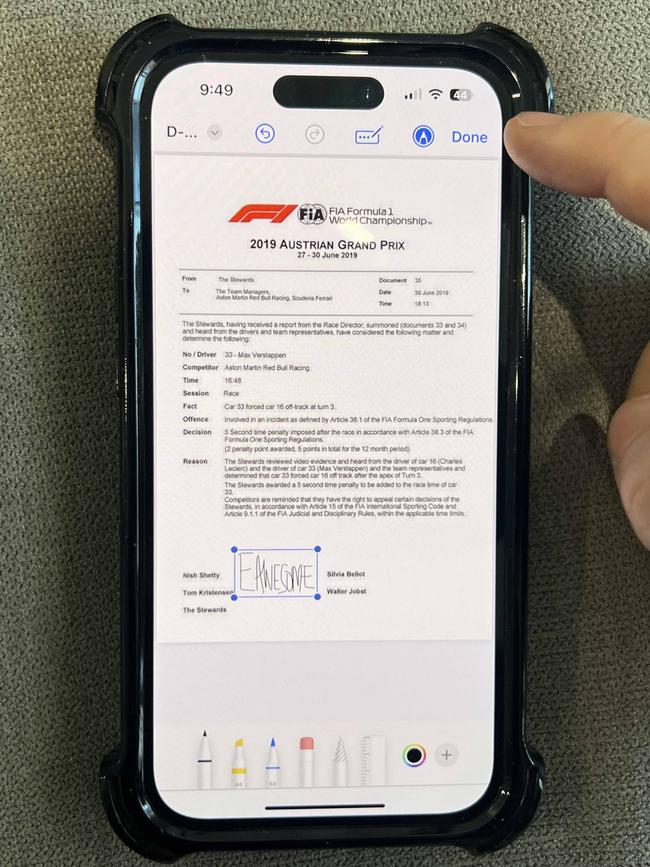
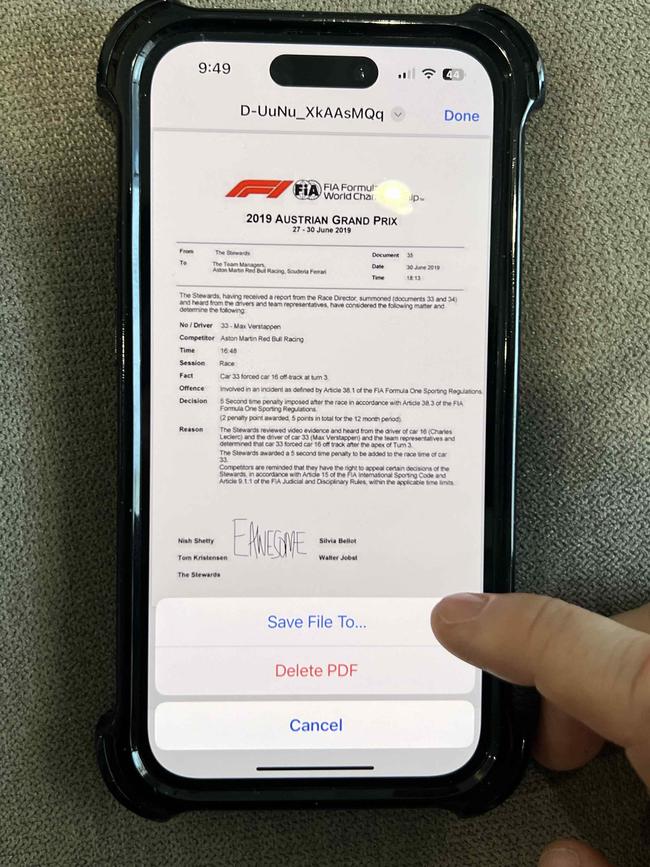
Once you’re finished, select done or the markup icon in the top right corner again. You’ll be prompted to save the file or you can select cancel and use the share icon in the bottom left to send this document on.
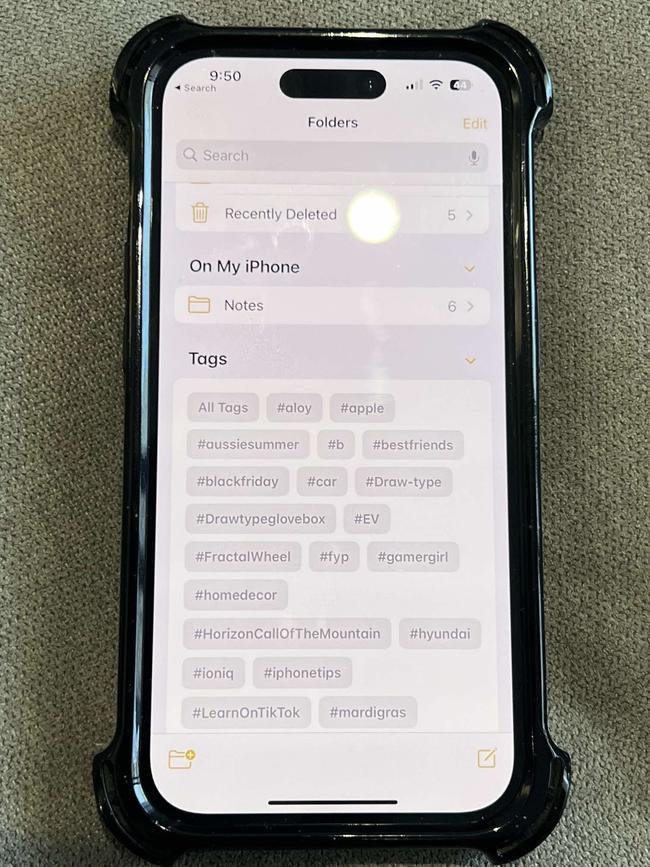
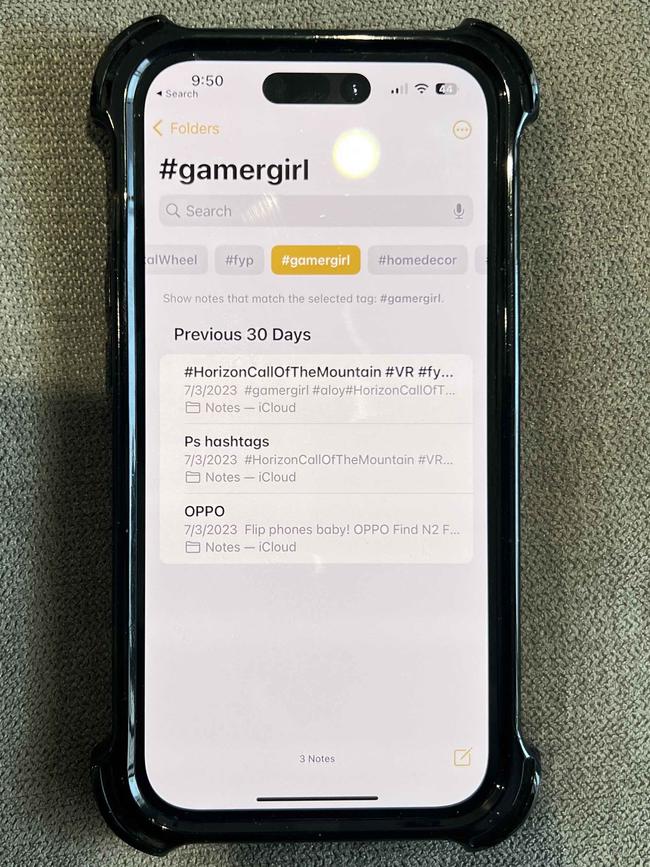
Organise your notes
In iOS 15, Apple updated the iPhone’s built-in ‘Notes’ app to include a useful Tags feature, essentially hashtags for your notes. Adding tags to notes allows you to categorise them so you can easily find topic-specific notes later. For example, if you’re writing a note about work, make sure to add #work. Then the app will recognise the tag and add it to the Tags section, found at the bottom of your Notes app on iPhone. Here you’ll find a collection of hashtags, and if you click one you’ll be shown only the notes that contain this tag. Some tags I like to use include #shopping, #recipes and #homedecor.
Notes with passcodes
Did you know in Apple’s recent iOS 16 update you can now lock your notes to keep them private? There are two ways in which you can lock your notes. You can use your iPhone’s passcode or create a unique password especially for your Notes.
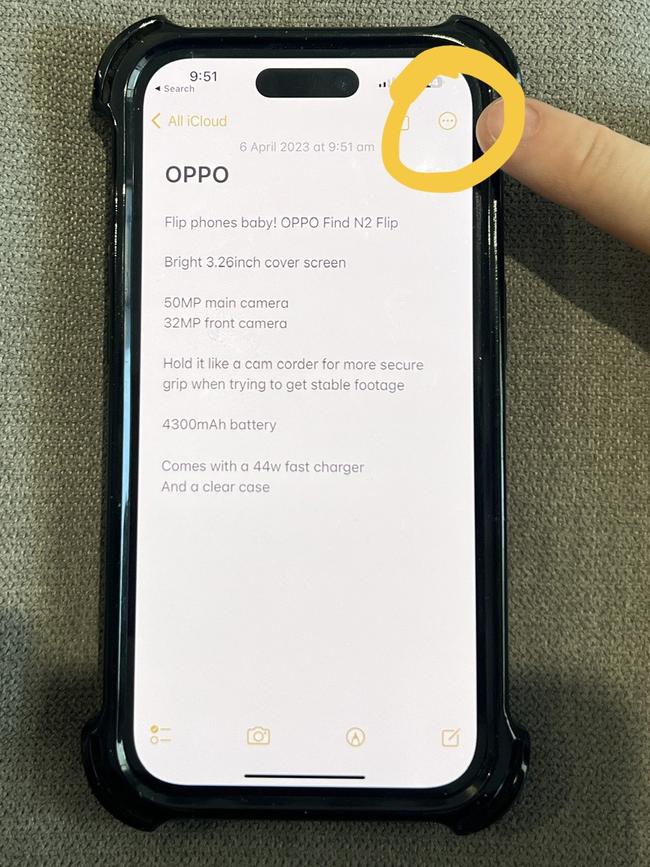
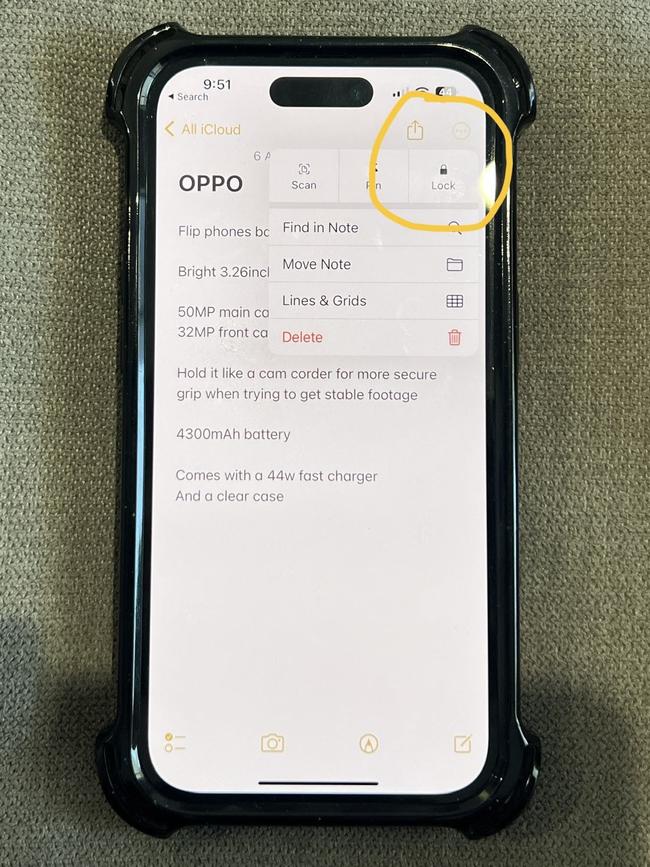
To lock a note, begin by opening the note that you wish to lock and tap the ‘More’ icon, which is on the top right and looks like three dots in a circle. This will reveal additional options, including the ‘Lock’ function. Once you select Lock, your iPhone will prompt you to choose whether you’d like to lock using your iPhone passcode or create a separate passcode.
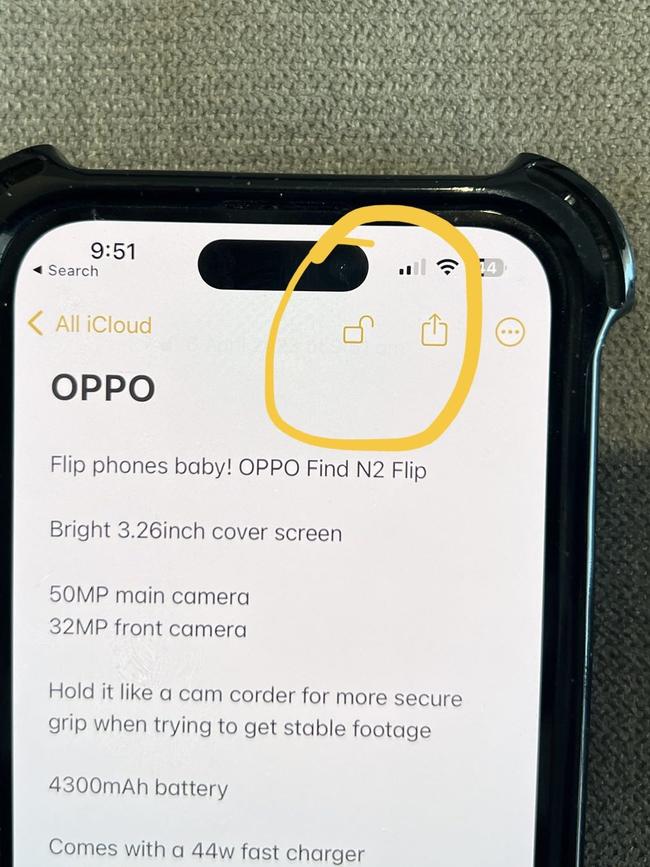
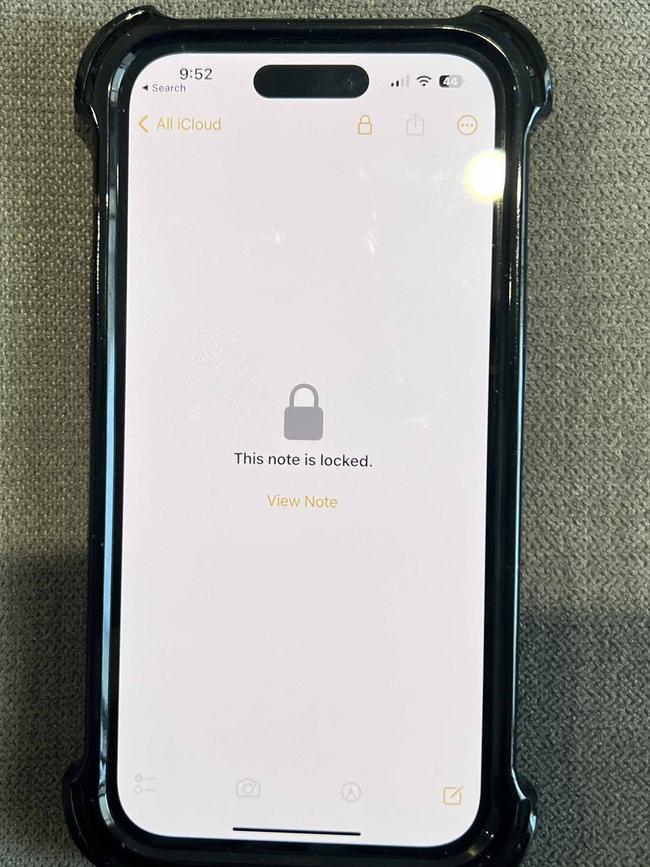
It will walk you through the setup. I chose my iPhone’s passcode. Immediately after this setup the note will remain open, but a lock icon will appear at the top of the screen to indicate that it can now be protected. You now need to tap this icon to lock the note and if you would like to view it again, you will be prompted for your password.
Elly Awesome is an Aussie tech and lifestyle vlogger | @ellyawesometech | YouTube


Originally published as Four little-known iPhone features that will change your life

The tiny tech with a huge Aussie price tag
It’s the super comfortable technology that you might not even remember you’re wearing but it comes with a hefty price tag per centimetre.

‘Exhausting’: Why parents need help in mobile war with kids
It’s the biggest cause of arguments between parents and kids — how much time they spend scrolling on their phones — which is why it’s time the Government stepped up and helped, argues Julie Cross.