HMD’s repairable Nokia G22 is better in theory than in practice
This year HMD became one of the first manufacturers to release a mobile phone that users could repair themselves without voiding the warranty. We put it to the test.

Some ideas are nicer in theory than reality.
And that might be the case with the Nokia G22, HMD’s first 5G smartphone which HMD has introduced to the market with repair kits that won’t void its warranty.
So The Australian has put one to the test, grabbing a G22 ($349) and an iFixit’s essential electronics toolkit ($49).
The G22 was introduced at the world’s largest telecommunications event, Mobile World Congress, in Barcelona in February.
The Australian was a guest at the show and spoke on the sidelines of the event to HMD Australia and New Zealand country manager Brenden Folitarik about the new device.
At the time, he told the newspaper: “One in six consumers are actually having a crack at repairing their screens themselves, pardon the pun.”
The repairable features are part of a sustainability push from the company alongside other green features, including a back casing made of 100 per cent recycled materials and a Clean Up Australia pledge in which $20 from each G22 purchased is donated to the organisation.
But one broken motherboard later and we’re not so confident in Nokia’s line of thinking here.
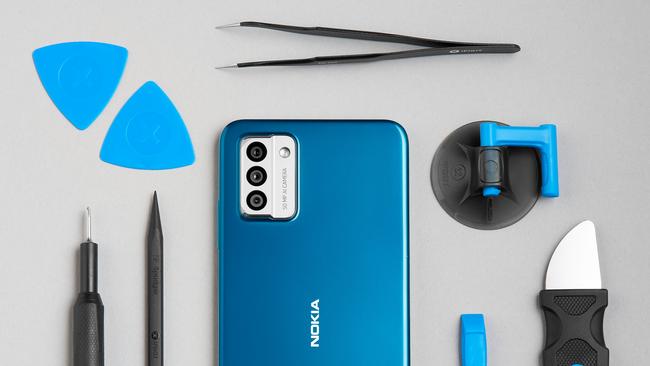
Before telling you what we broke, it’s worth knowing the phone does have some impressive features for the price.
These are a megapixel camera, dual sim (and size) capability, 4GB of RAM and 128GB of storage.
The device arrives with a promise of two years’ worth of OS updates and an up to three-year warranty.
Inside the box, the G22 did arrive with a clear phone case, a SIM card removal pin and a USB-C charging cable.
Now, on to the most important part of this review.
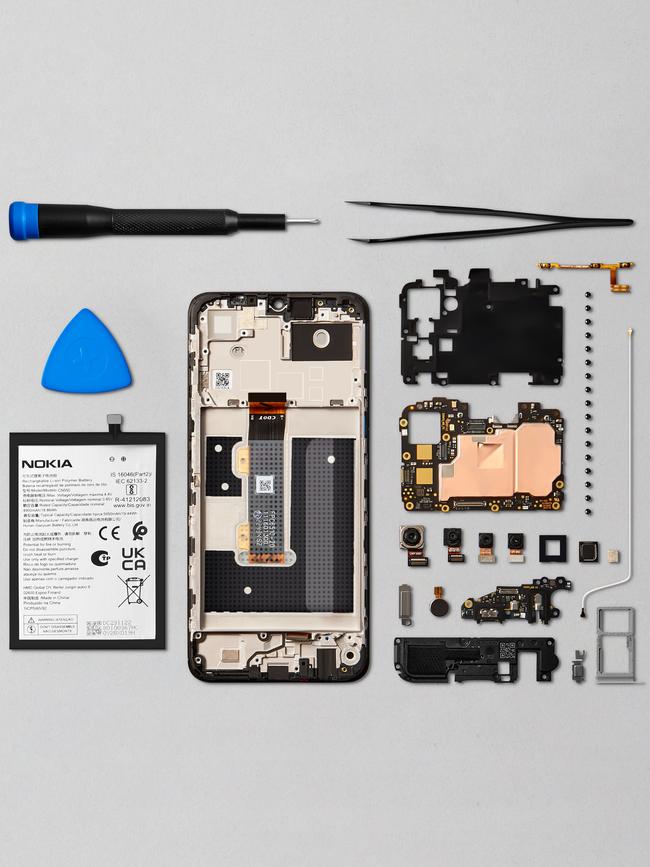
Rather than a replacement screen kit as requested, HMD sent over a general essential electronics toolkit which included a 16-piece screwdriver set, a knife, a suction kit to remove the screen, some tweezers, a jimmy and a spudger which is used to remove a screen.
First we followed the rear casing removal guide.
This begins with taking out the SIM card holder. To our surprise the G22 can carry two different shaped SIM cards which is good for variety and stops those who haven’t changed their sim in a while from what can sometimes be an unbearable trip to their telco.
Removing the back was interesting and slightly concerning as access to the back is from a small slot behind the screen. Later we found out the screen assembly was far sturdier than we first thought.
This first part does require some patience, and a steady hand to slide the pick around the phone and remove the screen tab by tab. This took just a few minutes.
Next we attempted to remove the battery. As expected, this required a significant amount of effort.
After removing 10 screws, and shimmying the motherboard bracket up, we were able to get to the battery.
The battery was glued into place and the guide asked us to use the plastic tabs which we unpeeled to pull it off.
Our first attempts were met with some difficulty when the middle tab tore. We then used the other plastic tabs as advised and this took quite some pressure, resulting in a few pieces going flying from the device.
One can only hope we picked everything back up, but I guess we’ll hear from HMD if we haven’t.
It’s worth noting that the phone appears to be assembled in stages. The back will always come off for repairs and the battery must be removed to get to the screen.
Replacing the charging port also falls into chronological order, but doesn’t appear to require full battery removal – just parts of that process.
This part was a little more frustrating given a small white sticker covering one of the screws which led to a lot of prying with the tools before realising. Don’t worry HMD, we caught it just in time.
The battery removal took a total of 15 minutes.
Now, for the last procedure, which was removing the screen.
This is where we had the most trouble. The guide tells you to remove a single screw on the right-hand side when there are in fact two screws – one of which is on the left and covered by another white sticker.
The result was a broken motherboard this time as we didn’t catch it in time.
The screen removal process took the longest of all, coming in at 18 minutes.
The verdict? The phone itself appears to be good quality for the price but repairs require patience and a steady hand.
If you owned a G22 and came across a problem, I’d recommend trying to fix it yourself. But if the sole reason you wanted to buy one was to be able to fix it whenever an issue arose, you might be left quite disappointed.


When it comes to TVs, is bigger always better?
As technology evolves, the majority of things have gotten smaller or at least more compact. But TVs have grown in the opposite direction, now as big as the walls in your home.
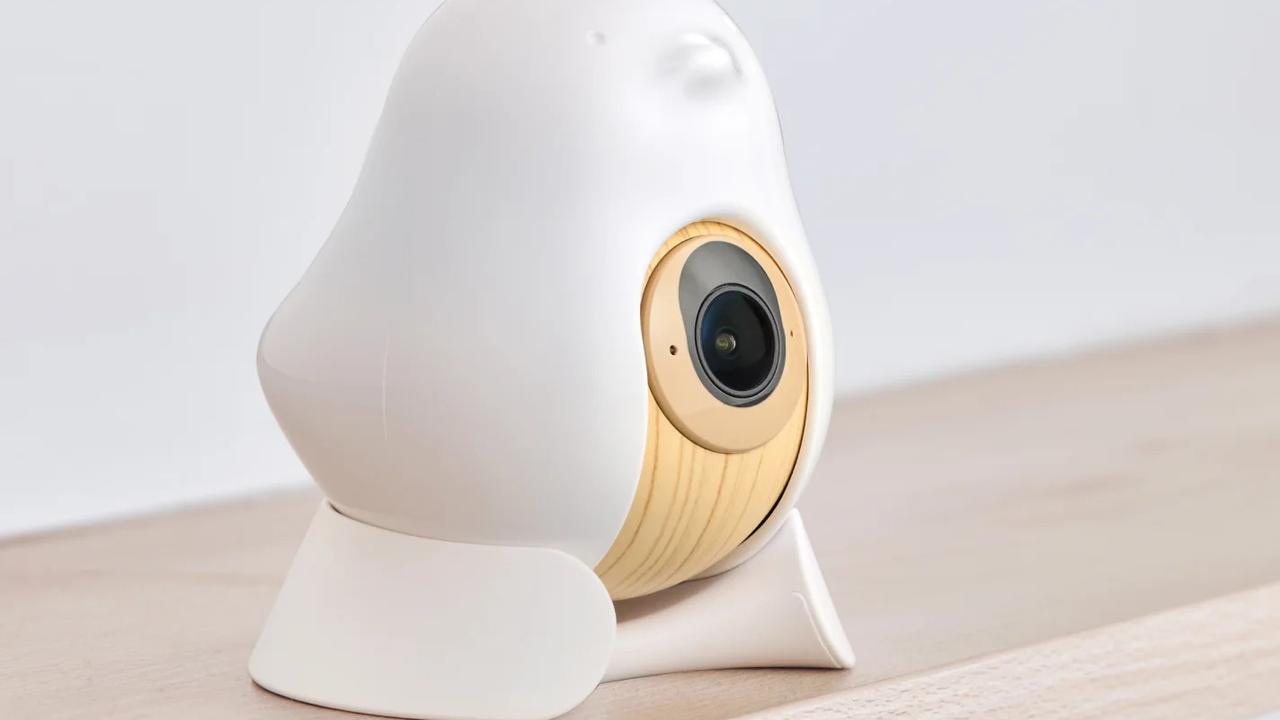
Big mother is watching…
This AI-equipped device is “the world’s smartest baby monitor”, CuboAI says. You’ll hardly believe some of the things it can do.