The Beauty Diary by Rebekah Scanlan: How to blow dry your hair at home
She’s known for her signature ultra-long extensions, but MAFS star Martha has been convinced to chop her locks — and fans are obsessed.
There’s nothing quite like that freshly blow-dried feeling.
And while we all love a professional blowout, it’s one hair treat that feels like it is impossible to recreate at home (no matter how hard we try).
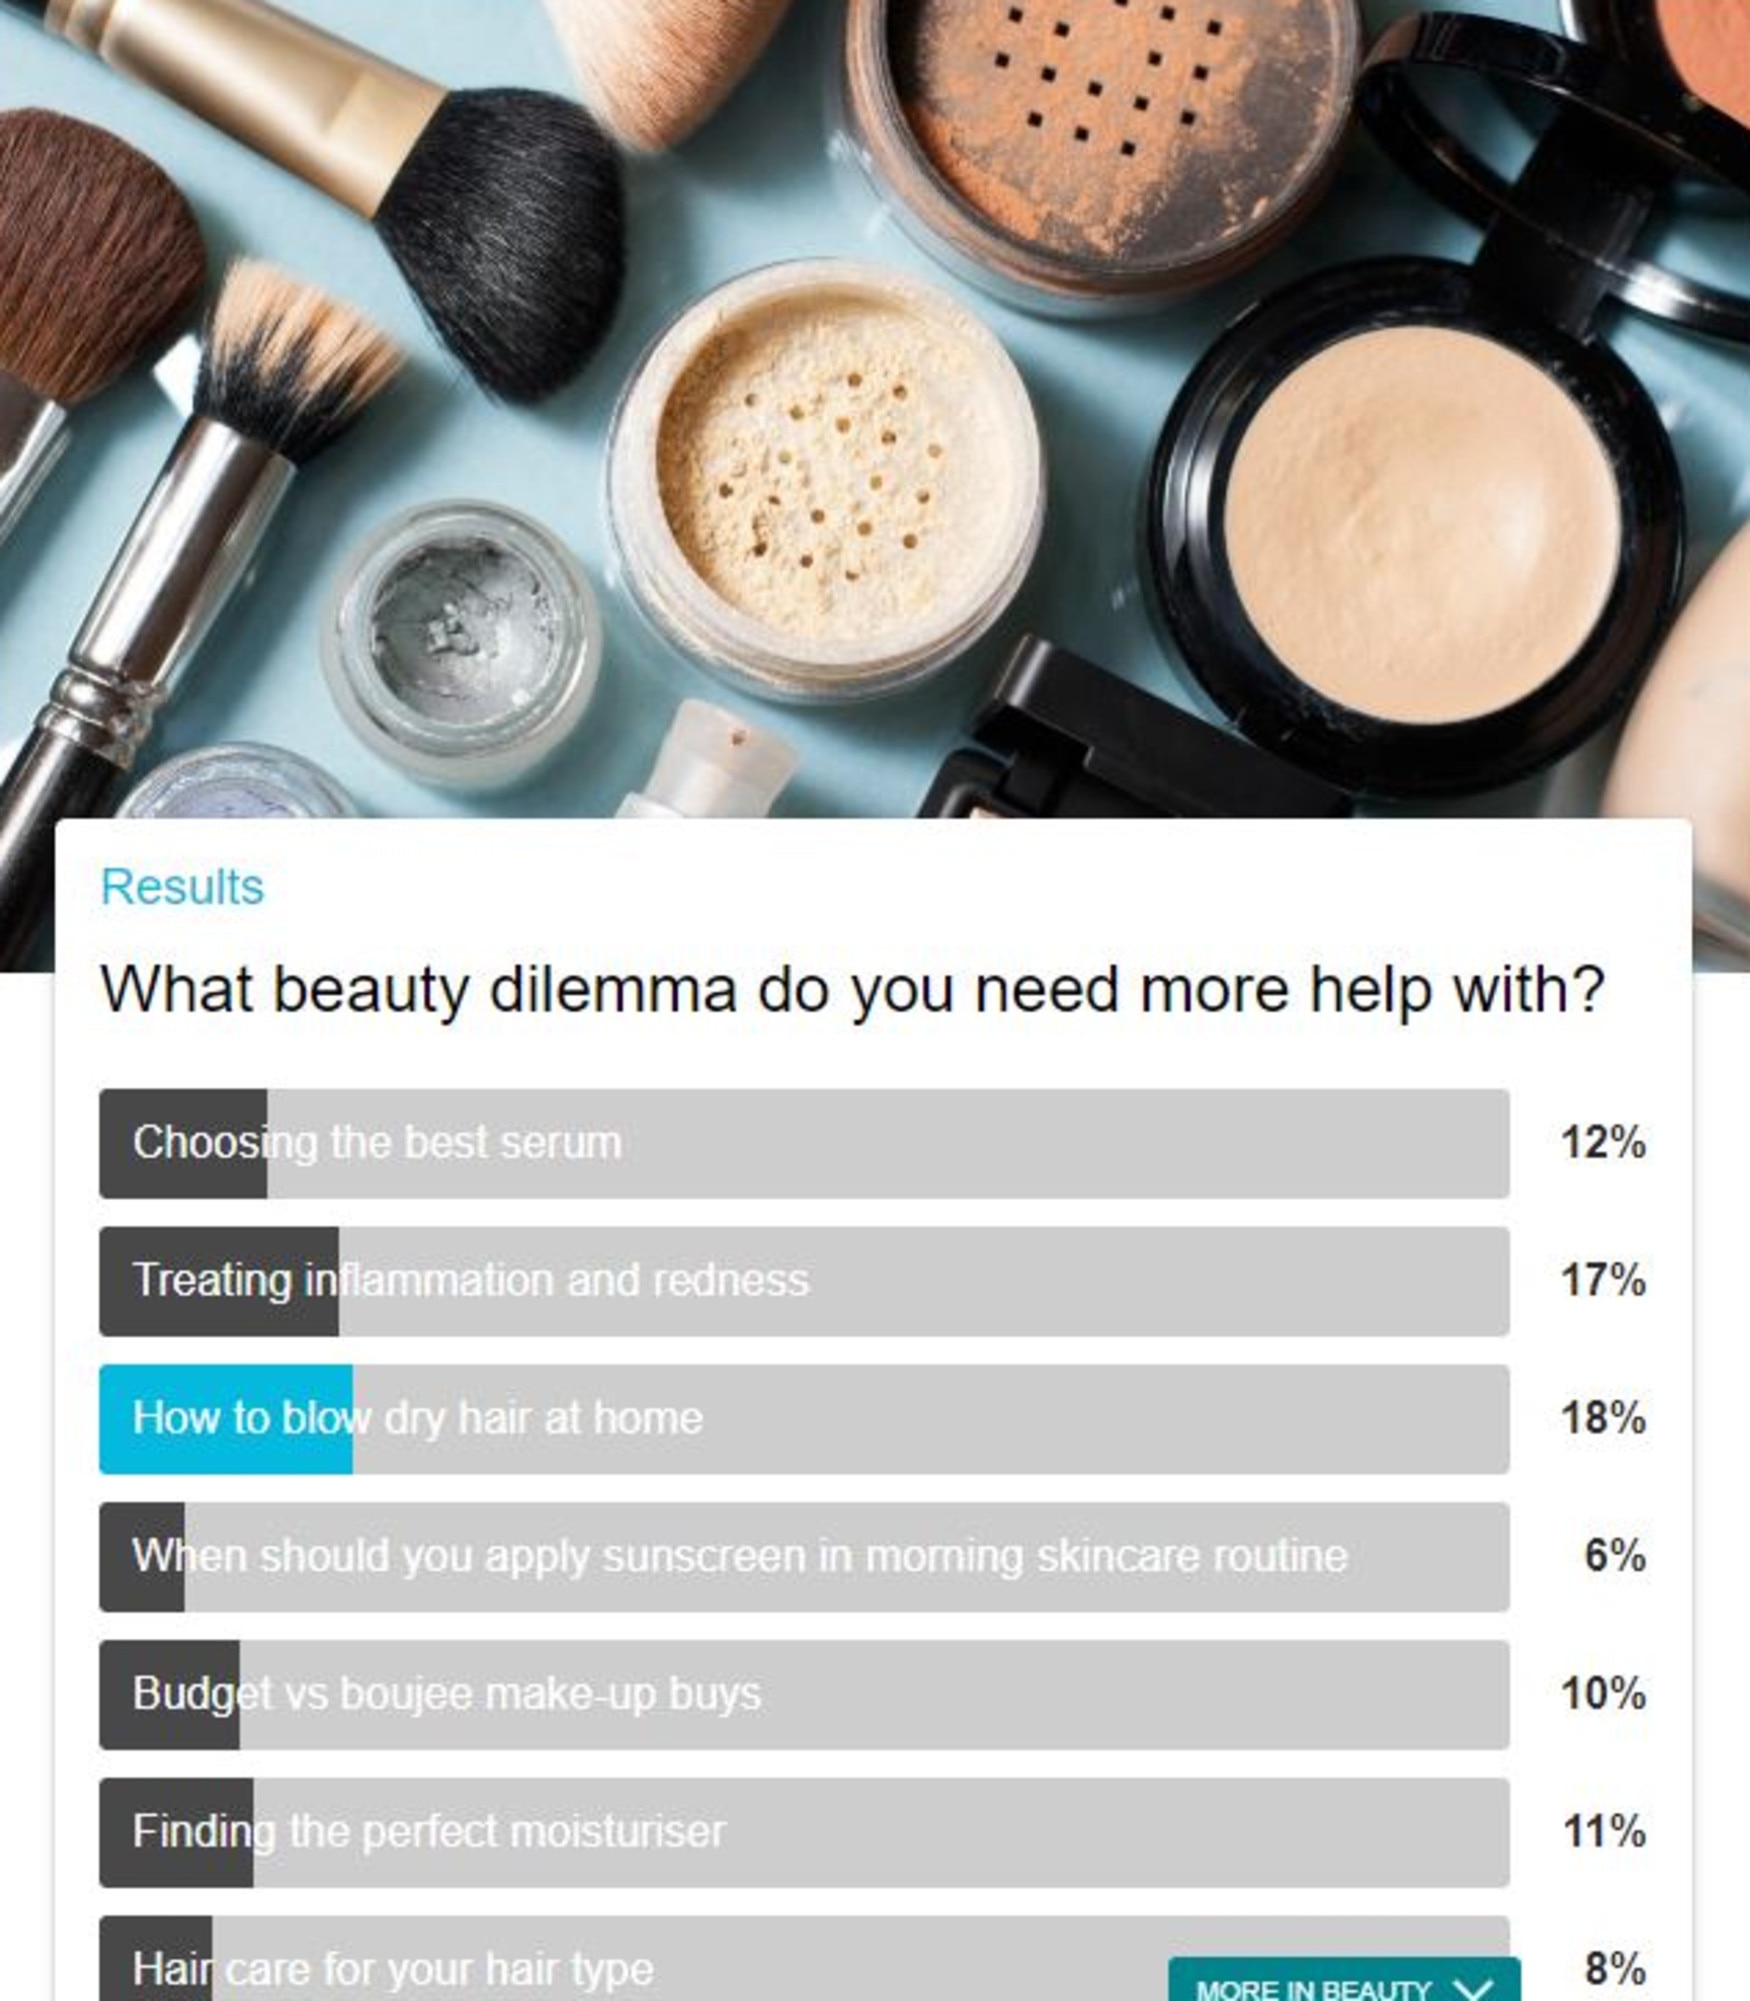
In fact, it was voted the biggest beauty dilemma in a poll of almost 9000 The Beauty Diary readers, with a staggering 1500 of you calling for help with an at-home blow-dry.
So I’ve brought in the big guns.
Renowned Australian hairstylist Anthony Nader from RAW in Surry Hills, told The Beauty Diary that when it came to recreating a salon worthy blow out, there was one major mistake most of us make.
“People always overdo it with their styling products,” he said. “It’s the biggest mistake I see and hear all the time. Less is always more.”
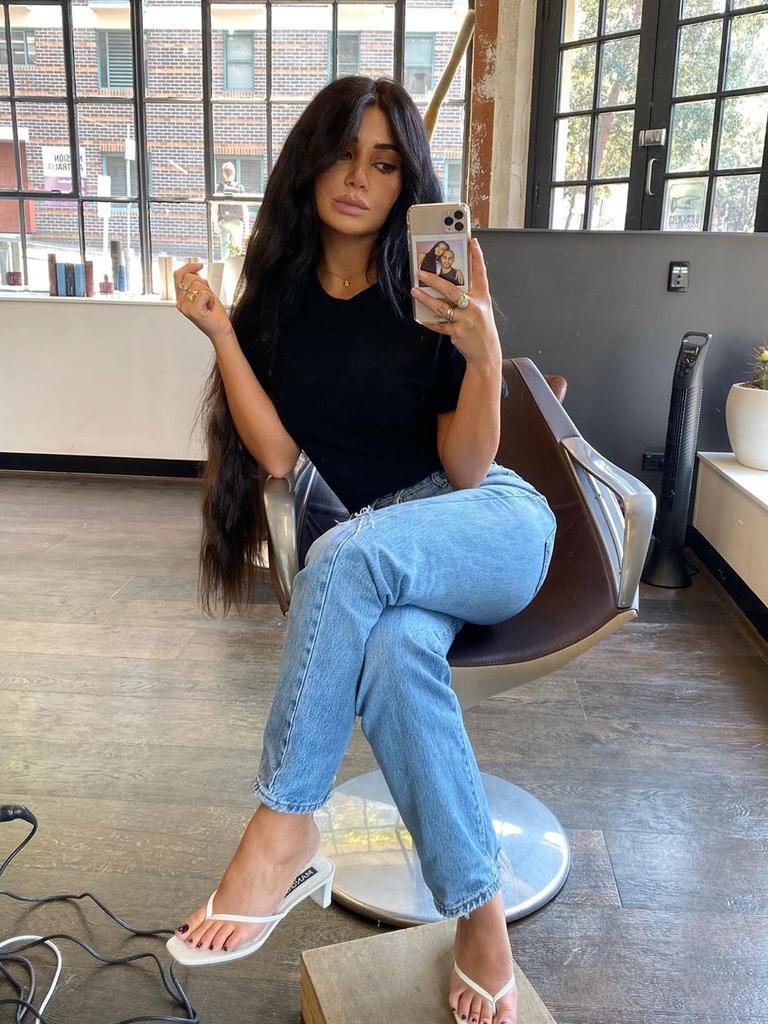

The celebrity stylist recently convinced Married At First Sight alumn Martha Kalifatidis to ditch her extra-long hair extensions in favour of a chic, trendy “lob”. Martha’s loyal fans had a lot to say about the hair transformation, with one declaring on Instagram her new short hairdo made her “completely unrecognisable”.
Fellow hairstylist Justine Eeve from Sydney’s Hair&Harlow told The Beauty Diary the trick was all in what you were using on your hair and catering to your own type.
“The right products make a big difference to making your life easy when it comes to home styling,” she said.
“It starts in the shower but includes heat protection and the right hairdryer. Healthier hair is the easiest to style and hold.”
Missed a column? Catch up on all The Beauty Diary action here.
BEGIN YOUR WITH THE BASICS
For the total novice, the first thing you need to know is to start with wet hair, preferably freshly washed with a product that’s suited to your hair type.
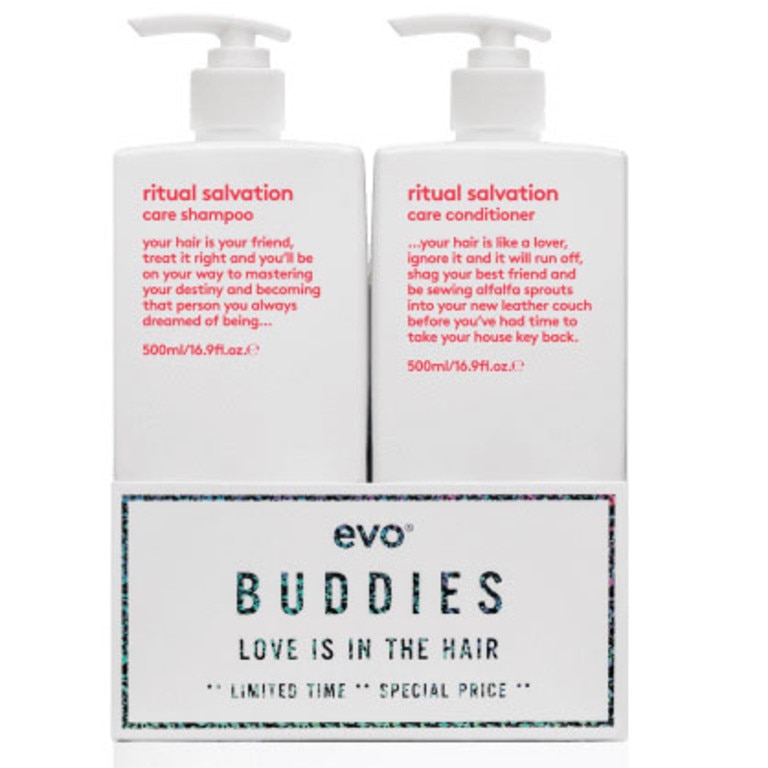
“Use a professional quality shampoo and conditioner as it is so important,” Justine said. “For a good all rounder that works with all hair types, I recommend Evo Ritual Salvation. If your locks are a bit tougher to wrangle, go for the Evo Mane Tamer.”
You can buy the products individually or together in “Buddies” bundles for about $60, like this one from adorebeauty.com.au.
READY, SET, DRY
Once your hair is squeaky clean, it can be tempting to get stuck into styling while it’s still soaking wet.
But, because water makes it hard for the bonds of your hair to “set” into their natural form, Anthony advises blasting it with your hairdryer first to take some of the weight out.
“A common mistake people make at home is simply blotting dry their hair. If you blast it first, drying it by at least 80 per cent, this will cut down your drying time and mostly, your arms wont feel like you’ve just done shoulder presses at the gym,” he said.
Justine advises against rushing though this process, pointing out one reason a lot of us love a salon hair job is because it’s not done fast.
“The key is patience. Your stylist always gets a smooth and polished look is because the take their time with your locks but if you allow time and you will get a longer lasting, finished result,” she said.
Hot tip: If you are going to blast your hair to dry it off before you begin, make sure you apply your heat protection first.
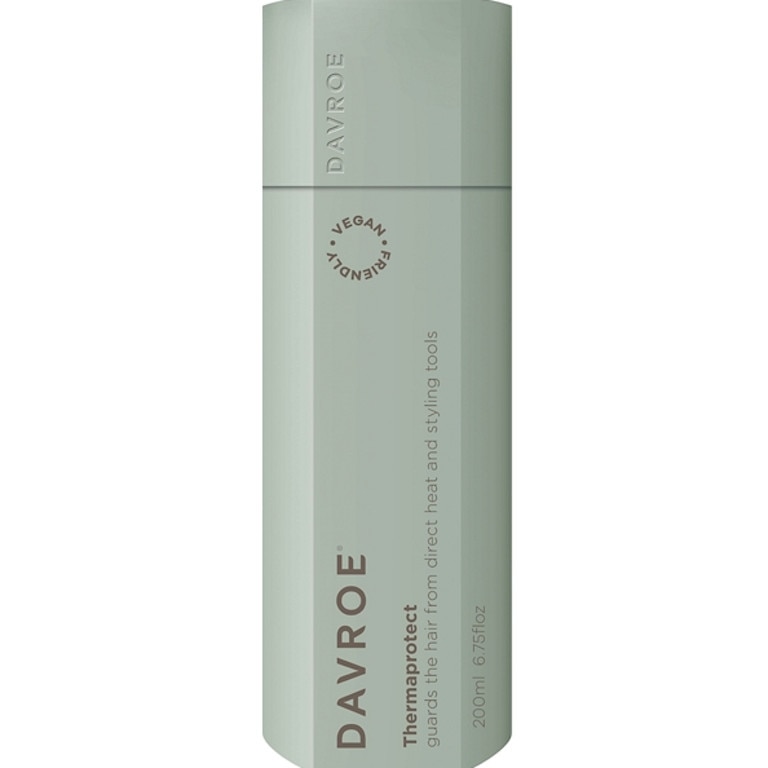
While I’m no hair expert, I’ve been loving Davroe’s Thermaprotect, which costs $23.95 and is available online and in salons. You can spritz this stuff onto dry and wet hair, and I find it doesn’t dry out my ends, which is a battle I have with my porous strands.
CHOOSING YOUR STYLING PRODUCTS
Once your hair is just damp, you’re ready to get cracking with the styling. Oh wait, no you’re not — you need to apply your styling products first.
If you’re looking for volume, most stylists suggest using a mousse or a foam to give you that boost.
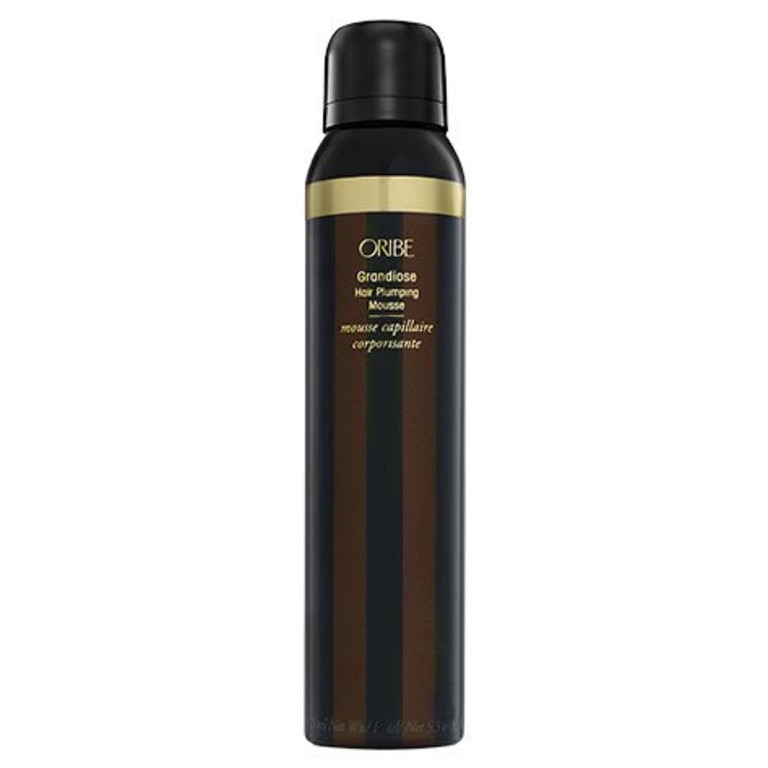
My pick is Oribe Grandiose Hair Plumping Mousse, which is an investment at $56. But the lightweight foam doesn’t leave my hair feeling heavy or looking greasy and a little goes a long way, which helps to justify the price.
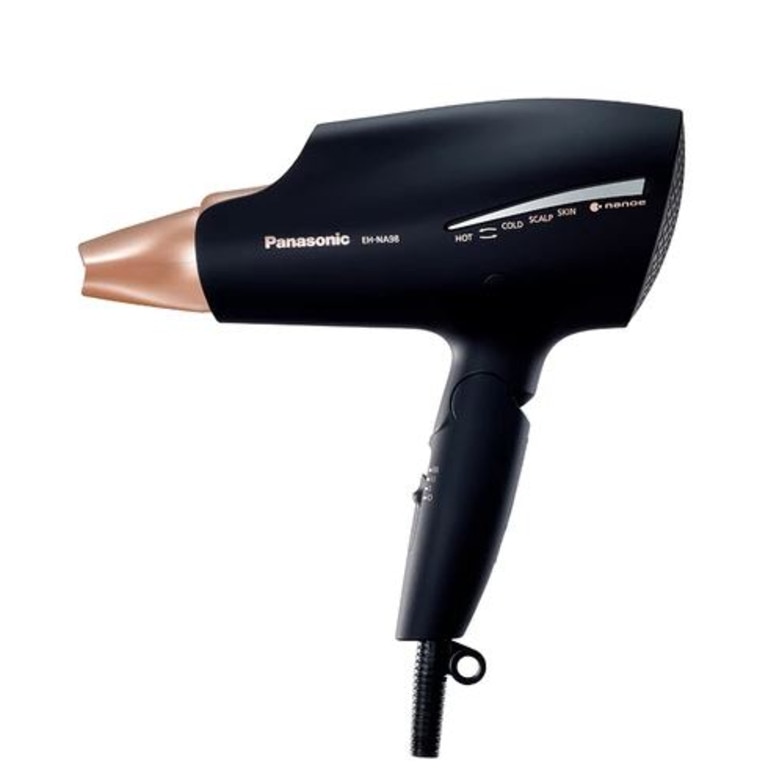
At home I dry my hair with the Panasonic Advanced Moisture Infusing Hair Dryer, which has recently hit the market and I was lucky enough to be sent to try it out as I definitely can’t afford the $349 price tag.
It has some fancy “quick dry” technology that makes your hair dry faster, and through some wizardry I don’t fully understand, it makes your hair softer as it somehow blasts moisture back into your strands as you dry it. Like I said, I can’t explain it, but it works. I also love that it’s foldable, which works in my chaotic bathroom. I’d definitely recommend and buy this if mine needed replacing.
FINE HAIR
Schwarzkopf Professional national ambassador Dee Parker Attwood told The Beauty Diary it was “important to build a good foundation” when styling fine hair.
“You need it to be able to hold the styling in place,” she said.
“Look for weightless formulas that help plum up the strands of hair and give your hair body, staring with a small amount of volume mousse.”
Dee’s pick is Schwarzkopf Professional Osis+ Session Label Volumizing Mousse, which she suggests you add to the mid-lengths and ends of the hair to give it some grip. It costs $25.95 and is available in select salons and online.
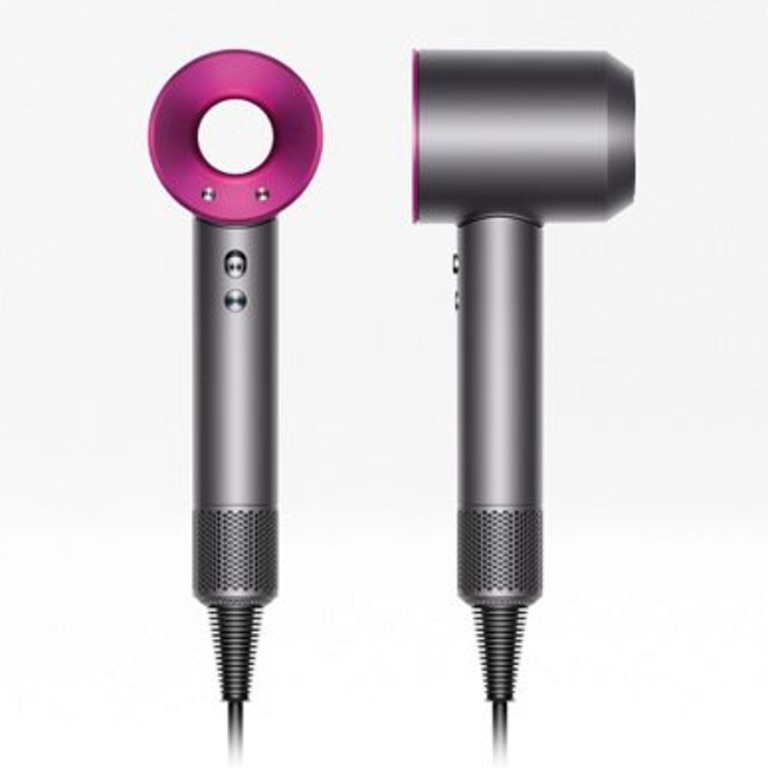
She also recommends using a “good” hairdryer on finer locks, suggesting the Dyson Supersonic Hair Dryer, which costs $549.
“It has the right features for fine hair types,” she explained. “You can use the cool shot button to set your style in place and stop it from dropping. It also adds shine.”
While don’t have one of these at home due to its extraordinary price, I often use one after my weekly Barry’s Bootcamp class as they have them in the change rooms, and the silky finish is amazing. It makes my hair reflect like a mirror and feels super soft to touch.
THICK HAIR
Blow drying thick hair can be a daunting task, Dee says — but it can be made easier. However great tools will really help with the job.
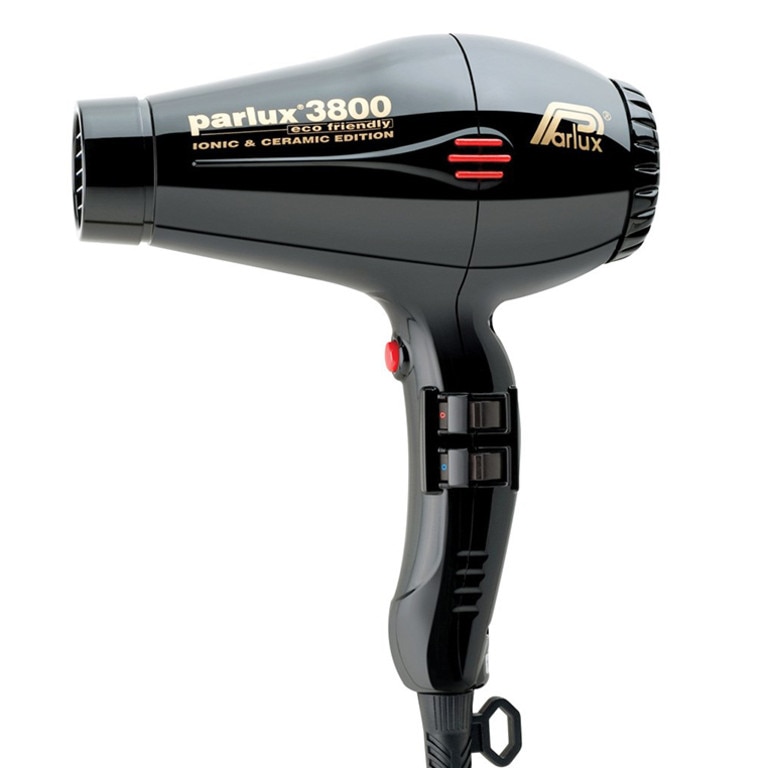
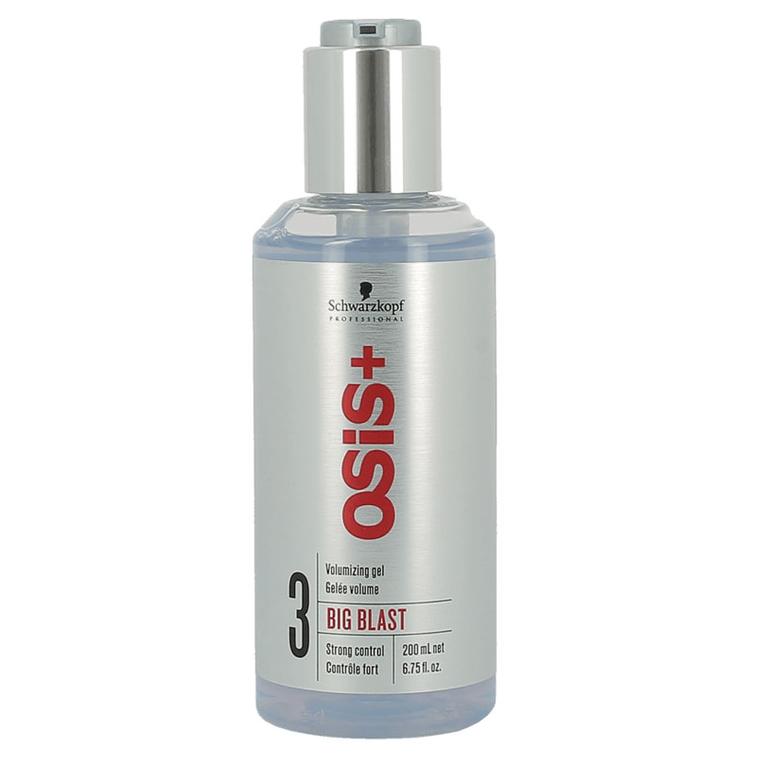
“My top tips are to towel dry your hair to begin with and then arm yourself with a strong dryer. The Parlux 3800 is best and I’d team it with so Schwarzkopf Professional Osis+ Big Blast, a volumising gel that gives a sturdy root lift,” she said.
While the Parlux hairdryer comes in cheaper than a Dyson, it’s still going to set you back $200.
Hot tip: Thicker hair has a better ability to lasting longer between washes than finer hair, so you can freshen your blow out between washes with a dry shampoo. Click here to read The Beauty Diary’s favourites.
CURLY HAIR
Curly hair is notoriously the hardest hair to blow dry, but there are some products you can use to help make it smooth sailing.
Dee suggests investing in a good hair-dryer which comes with a diffuser, explaining the Dyson Supersonic “has an excellent diffuser for curly hair”.
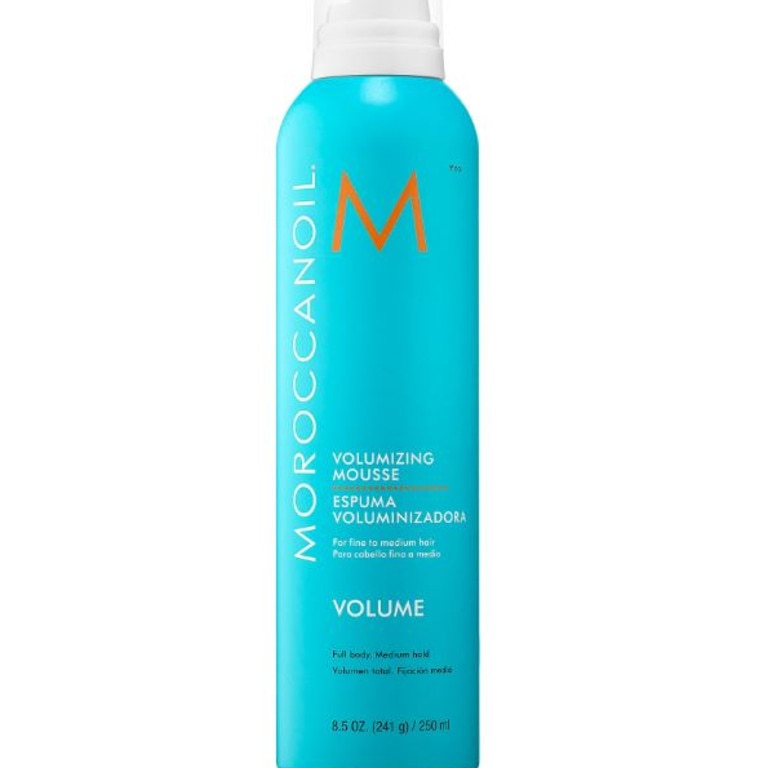
Curly hair works better with minimal product (so go low on heat with your hair dryer later on). Justine suggests Moroccanoil Volume Mousse and for smooth ends Olaplex. If you want to try this, shop around. I had a quick look on Google and found it costs $47.95 on Adorebeauty.com.au but you can pick it up at Oz Hair and Beauty for $33.50.
SHORT HAIR
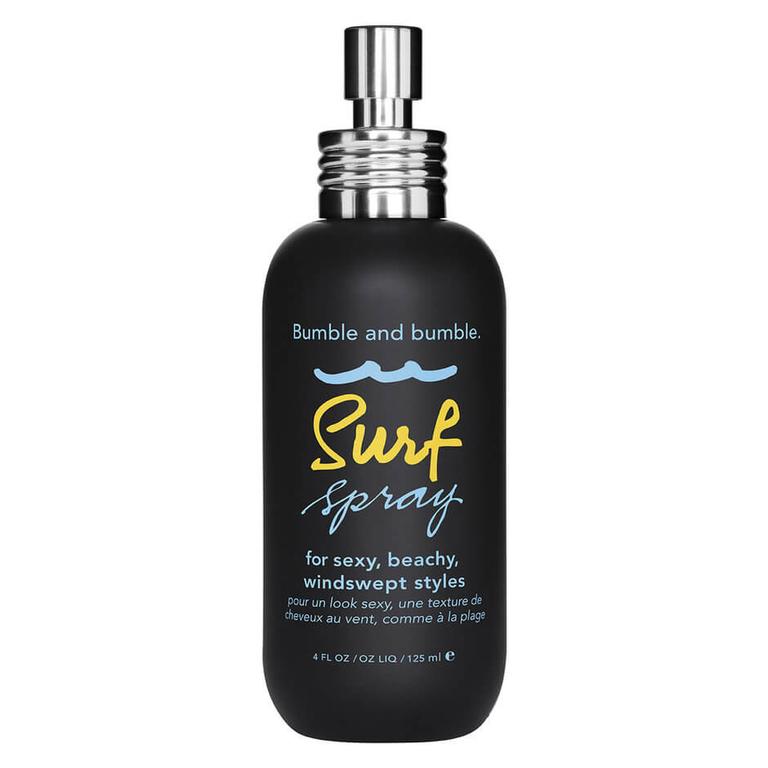
Anthony’s pick is Surf Spray By Bumble And Bumble as it adds texture and character to locks without weighing them down. According to one review on Mecca.com.au, the $41 product gives “sexy, salty, sun-dried, windswept styles - whenever, wherever”.
Sadly salt sprays dry out my hair — but they’re perfect for those effortless beachy waves we drool over on Instagram.
YOUR BRUSH IS KING
No matter your hair type, you’ll need to grab a big bristled brush like the GHD Ceramic Vented Radial Brush. I love this one as the barrel holds the heat long enough for me to actually do what I need to do, usually creating a bit of extra volume.
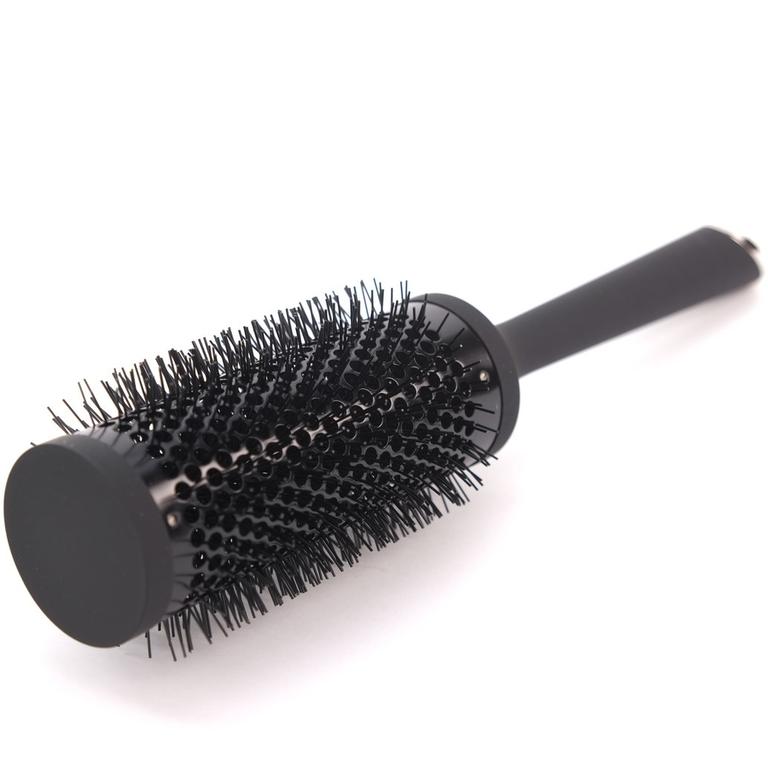
“I’m a fan of a medium to large boar bristle brush and with loads of bristles,” Anthony said, adding it was all about “#BristlesForDays”.
“These bristles will do the hard work for you, that’s why you need to invest in the right brushes.”
He also warns not to invest plastic ones, saying they’re a waste of money and bad for the environment.
STEPS TO BLOW DRY YOUR HAIR FROM ANTHONY NADER:
First up, section your hair properly, keeping it simple and clean.
“This is going to fasten up your drying time,” Anthony said.
“Place in your desired part line and separate into four even sections. Take diagonal sections starting around your hairline first as the front half is visual, it needs the love with your brushes here. The back area is more forgiving.”
Once you’re sectioned up, you should grab your round brush and pull it through with your dryer “starting at the back and work your way forward”.
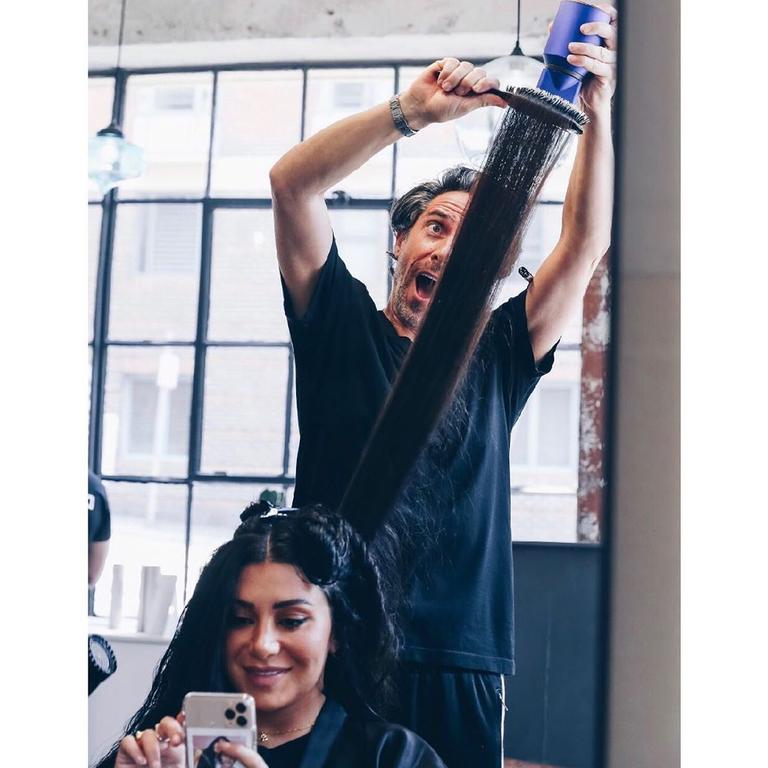
“Wrap the hair around your brush and twist the hair around it to add more volume,” he said. You can even add a twist at the end to give the hair a loose wave.
And if you’re one of those people is better at working on one side than the other, Anthony suggests starting with the side you find the hardest.
“Always start on your weaker side and then progress to your easy side,” he said.
“It will feel uncomfortable at first, but if you start here at the beginning your all fresh and ready to conquer and then by the time you reach your easy breezy side you’ll be sailing along.”
SET YOUR BLOW OUT IN PLACE
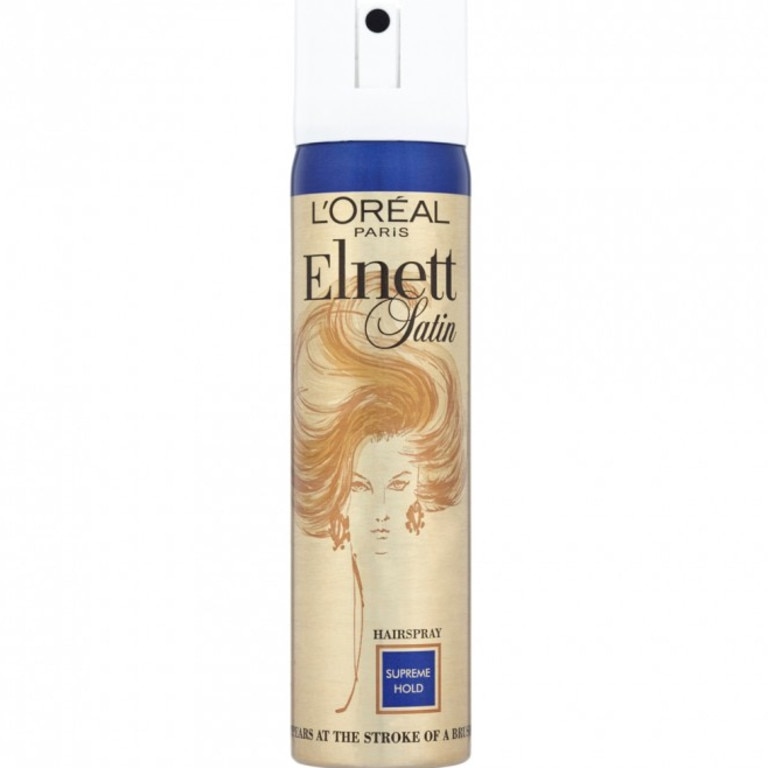
When setting your style, your best friend is always a spray that will help your hair look shiny, sleek and frizz-free for the whole day. In my opinion, you can’t beat the classic L’Oreal Elnett Satin Supreme Hold. This product can be picked up at a heap of places, such as drug stores and supermarkets and costs just$10.95.
Anthony also suggests giving your roots a spritz of your dry shampoo and massaging in for a little extra “va, va voom”. Flip your head back, give your strands a brush through and you are good to go.
This column is not advertorial content. Every review is independent, honest and ad free.
If you have a question about a beauty product or an item you’d like to see road tested in The Beauty Diary, jump on to our official Facebook group where you can join like-minded beauty junkies.
You can also catch me on Instagram or tweet me — don’t forget to hashtag #TheBeautyDiary


