
How to make a simple and useful Mother's Day ring dish
It will make mum's heart sing when she takes off her rings!
Things to do
Don't miss out on the headlines from Things to do. Followed categories will be added to My News.
Let’s surprise Mum this Mother’s Day with a handmade gift straight from the heart (and the craft table!). Grab some clay, paints, and a whole lot of love—because your mum needs this adorable ring dish!
Want to join the family? Sign up to our Kidspot newsletter for more stories like this.
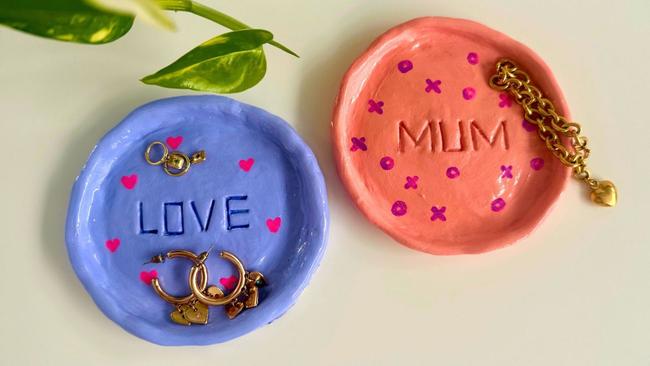
Mother's Day ring dish
Materials:
- White air drying clay
- Knife and spoon
- Old toothbrush (you won’t be using it for teeth again!)
- Acrylic paint and brushes
- Paint pens
- Scissors
- Wooden cutlery or popsicle sticks
- Clay varnish
Step 1: Make a Disc and a Snake!
- Take a piece of clay about the size of your palm and roll it into a ball.
- Flatten the ball into a round disc, roughly 10cm wide, and set it aside.
- Next, roll a smaller piece of clay into a long snake shape - this will be the wall of your dish.
Step 2: Attach the pieces together.
- To attach clay pieces together, you need to rough up the joining edges.
- Use an old toothbrush to scratch around the edge of the disc and the bottom of the snake.
- Dab both surfaces with a little water, then press them together.
- You’ll see a seam where they meet - use a spoon and your fingers to gently smooth the edges, adding a bit of water to help blend it all together.
Step 3: Personalise with a print!
- Time to personalise your creation! Cut a wooden fork or popsicle stick into two pieces - one with a long side and one slightly shorter - to use as letter stampers. (You can also use alphabet stamps if you have them!)
- When stamping on a curved surface, start with the middle letter to keep your word centered. We began with the ‘U’ in ‘MUM,’ then added the ‘M’s on either side.
- Let your dish dry completely—this takes 24 to 48 hours.
Step 3: Paint and decorate!
- Now for the fun part—painting! Use your favourite colours—we chose a mix of pink and purple.
- Add extra detail with paint pens. We decorated ours with love hearts and “OXOX” for hugs and kisses.
- Once the paint is dry, give the whole dish a coat of clay varnish. It’s thick and sticky, but leaves a shiny, protective finish.
Dish it up! Once it’s fully dry, your beautiful dish is ready to wrap and gift. Now Mum has the perfect place to keep her treasures—and a daily reminder of your love.
Share Your Creations! We’d love to see your Mothers Day Ring Dish! Share your masterpiece by tagging @kidspot and @stellarperformingarts. Happy crafting!
More Coverage


Originally published as How to make a simple and useful Mother's Day ring dish
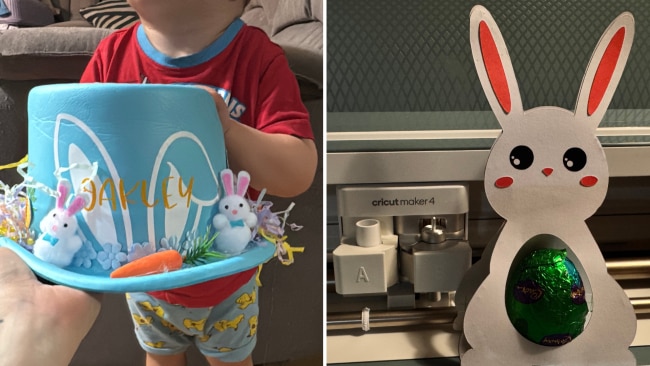
We need to normalise being a mum who sucks at craft
"I know bonnet and bunny craft is an essential part of Easter. So I tried. I dug deep. I paid a huge emotional toll."
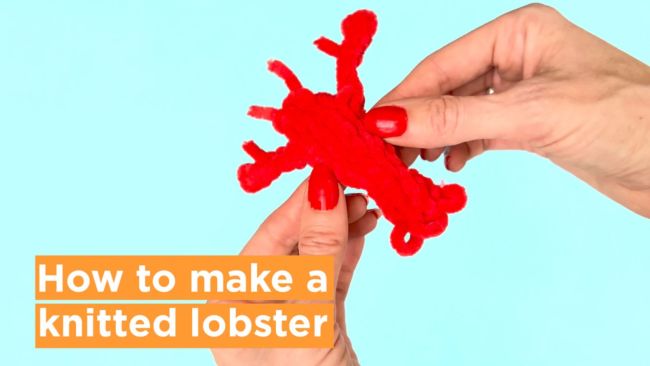
How to knit a simple baby lobster – with no experience needed
This craft is for kids of all ages, but be warned: it's so cute, you'll want to gobble it up!