
Elden Ring progress guide: what order to tackle areas and bosses in
If you don’t know where to go next in the Lands Between, our Elden Ring progress guide is here to lead you to the next Site of Grace and beyond.
Elden Ring is huge, sprawling, and sometimes incomprehensible. You might sometimes find yourself not knowing where to go and what to do next. Luckily for you, we’ve laid out the main steps so you can tackle everything in its logical order.
Since we’re going from the opening right on through to Elden Ring’s ending, please be mindful of spoilers. If you’re using this to guide you along each step, only read up to where you are right now.
With those caveats out of the way, let’s dive in!
How campaign progression works
Though you can head off and explore in any direction once you reach Elden Ring’s open world, there are a handful of tasks you have to tick off before you can have a showdown with the final boss. This isn’t like Breath of the Wild, where you can beeline straight to the end if you feel up to it. Here are the hard requirements:
• Defeat two major bosses.
• Activate two Great Runes.
• Head to the Capital.
If you want some of the best items and weapons in the game, however, I suggest you take on as many optional bosses and find as many secret areas as you can before you head to the Capital. It’ll make your life much easier.
Here’s the order you should visit Elden Ring’s locations:
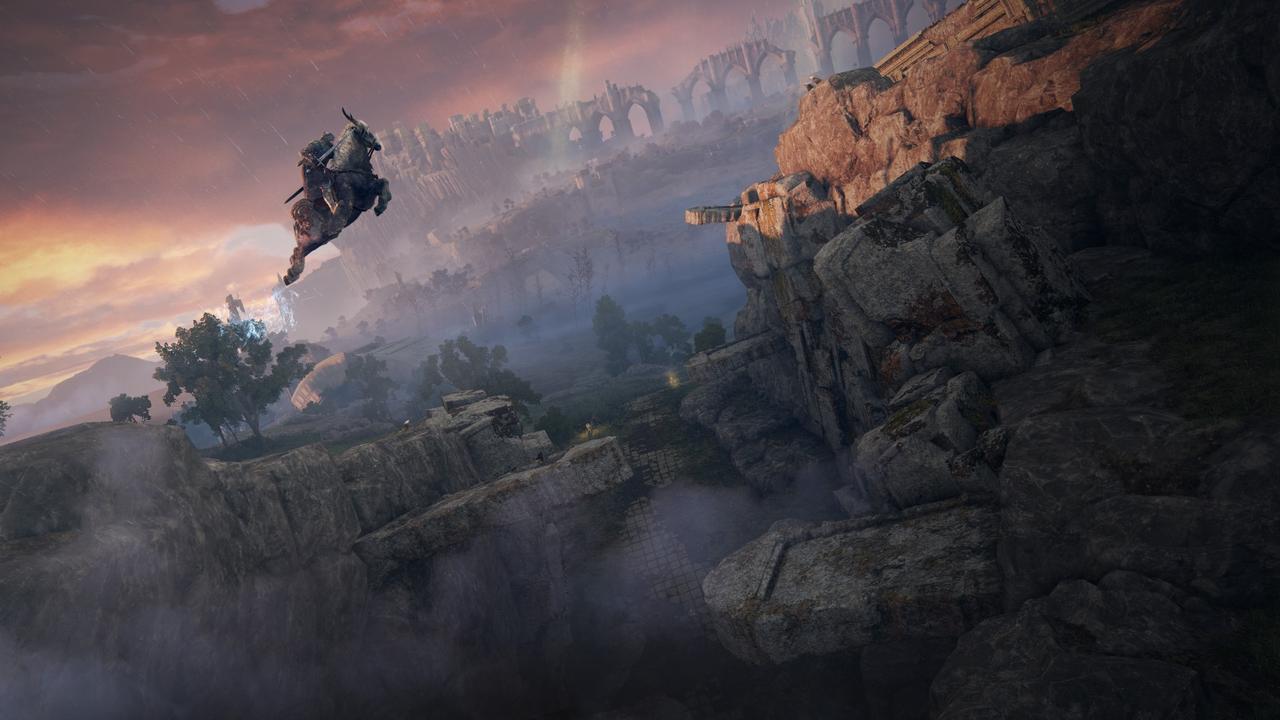
Limgrave
Here’s where your adventure begins. To get everything you need, tick off what’s on this list:
• Drop down the pit at the start and complete the tutorial area.
• Head to the Gatefront Site of Grace to get your horse, Torrent, as well as means of levelling up.
• Travel to the Church of Elleh and talk to the NPC, Ranni, to get the Spirit Calling Bell.
• Defeat the two main bosses: Margit the Fell Omen and Godrick the Grafted.
• Once you’ve killed Godrick, head to the tower near the boss to activate his Great Rune.
If you struggle against the bosses, there are some temporary distractions that will allow you to level up beforehand. If you want, you can explore the rest of Limgrave to find items and optional battles. You can also ride south to Castle Morne in the Weeping Peninsula and take on a whole optional dungeon. There’s also a mini-dungeon called Murkwater Cave, where you will fight Patches. Forgive him and he becomes a trader, allowing you to buy an item that stuns Margit and makes the fight easier.
Liurnia of the Lakes
The second main region – filled with rolling hills and sloppy swamps – is all about tracking down the Glintstone Key, an item that allows you to enter the Academy of Raya Lucaria. You can find the key north of Temple Quarter, guarded by a dragon. Either fight it or steal the key and run.
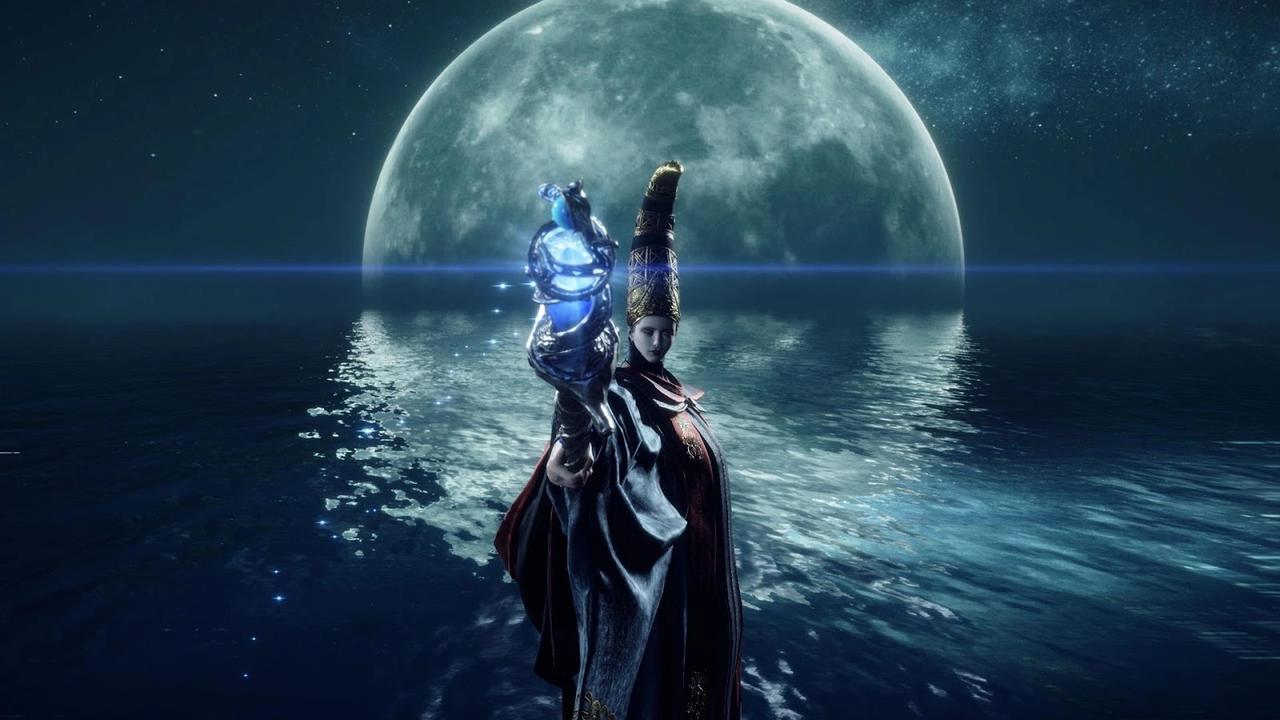
This is what you need to open up the main door of the Academy of Raya Lucaria, the second main dungeon in Elden Ring.
Inside, you’ll battle the Red Wolf of Radagon miniboss and Rennala, Queen of the Full Moon – the second main boss in Elden Ring. Rennala’s Great Rune is automatically activated.
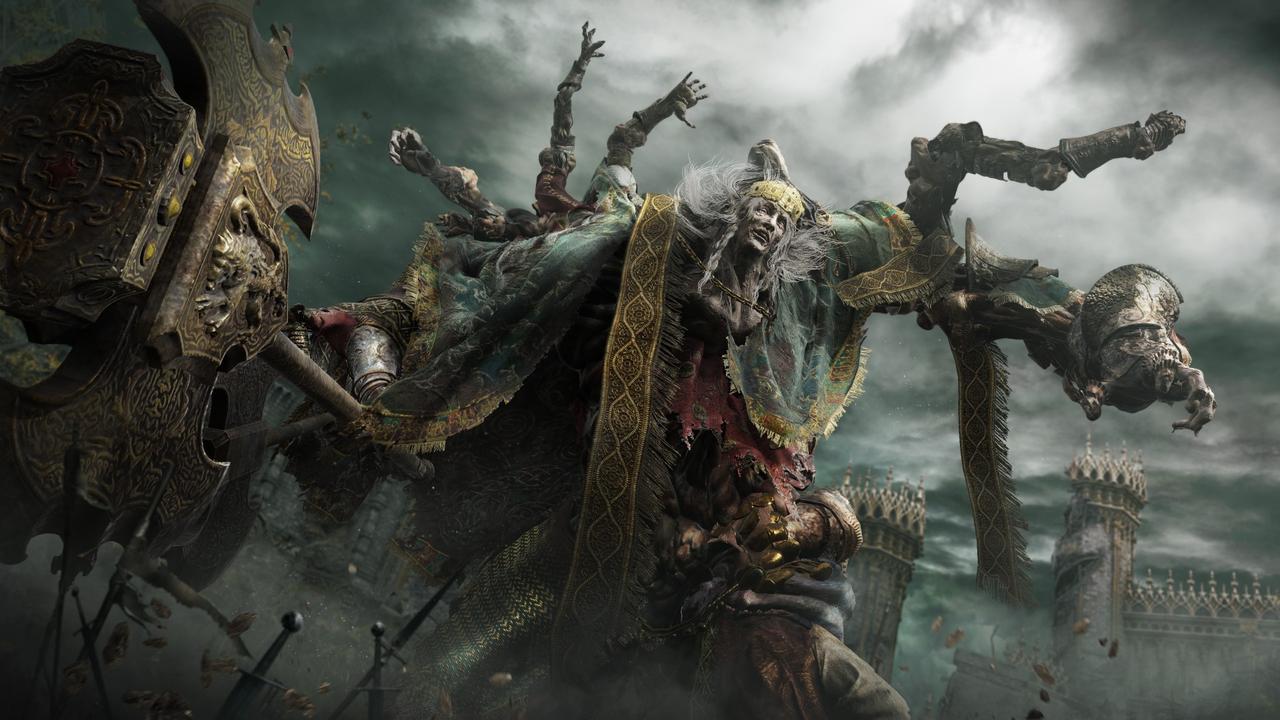
Leyndell Royal Capital
Now you have two activated Great Runes, you are free to go to the Capital and fight Morgott, the Omen King. If this is what you want, it’s a pretty linear path from there to the fight. If you want to tackle some other areas first, here’s the order you should follow:
• Altus Plateau – get here by following the river north of Liurnia of the Lakes as it cuts through the ravine. Alternatively, you can collect two halves of a medallion to use the Grand Lift of Dectus. There are no major bosses here, but there are plenty of items and opportunities for levelling up.
• Siofra River Well – head back to the Minor Erdtree in the Mistwood subzone of Limgrave. Here you can ride the long lift down to Siofra River Well. It’s worth visiting just for the sense of awe, but there’s also an optional boss waiting in the depths.
• Caelid – now infamous among the fanbase, Caelid lies to the east of the main map. It’s rotten and rancid, full of all manner of rabid beasts. Head to Castle Redmane in the southeast to defeat Starscourge Radahn, one of the most epic fights in the entire game. You can also activate his Great Rune.
• Nokron Eternal City – if you defeat Radahn, a meteor crashes on the southeastern tip of Limgrave. Head down the hole it creates to enter Nokron. Here you’ll find the Mimic Tear Ashes, a summon that creates an exact copy of your character. It’s the best item in the game. Head back to the northeastern area in Liurnia and through an illusory wall on the northmost point. From here you’ll get to Three Sisters, where you can kick off a long sidequest for Ranni the Witch. This will send you even deeper into Nokron, to the Deeproot Depths, to the Carian Study Hall, and to Nokstella Eternal City, and the Lake of Rot. Doing this quest is a requirement for one of the secret endings.
• Mount Gelmir and Volcano Manor – follow the northern road in Altus Plateau as it winds to the west, and you’ll eventually reach this barren wasteland. Head here if you want to partake in some PvP invasions. There’s also an optional boss deeper in, along with another Great Rune.
Mountaintops of the Giants
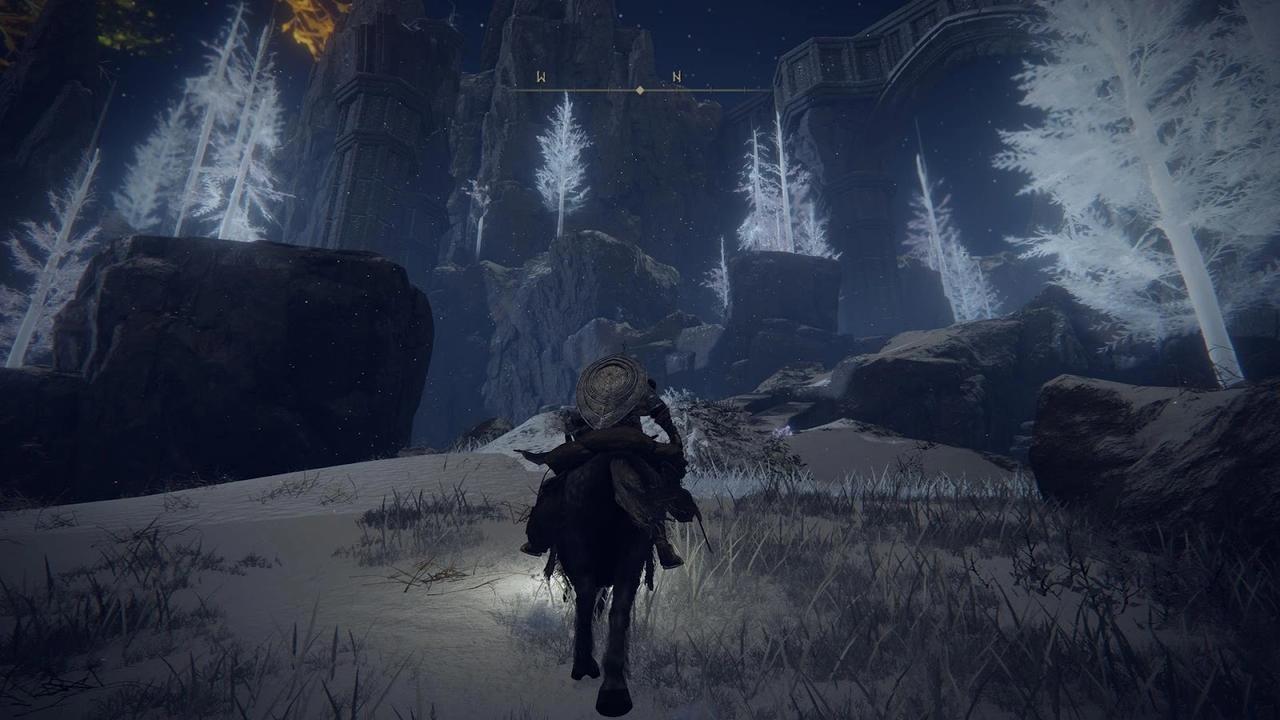
Whether you decide to do the optional areas or not, you’ll find the way to the Erdtree is blocked in the Capital. You’ll then exit the Capital to the east, through the Forbidden Lands and to the Grand Lift of Rold. This takes you to the Mountaintops of the Giants. You can also use a secret medallion here to reach an optional area called the Consecrated Snowfield.
At the end of the Mountaintops of the Giants, you’re forced to fight a Fire Giant. Once he’s down, head to the giant cauldron and rest at the Site of Grace to push the story on.
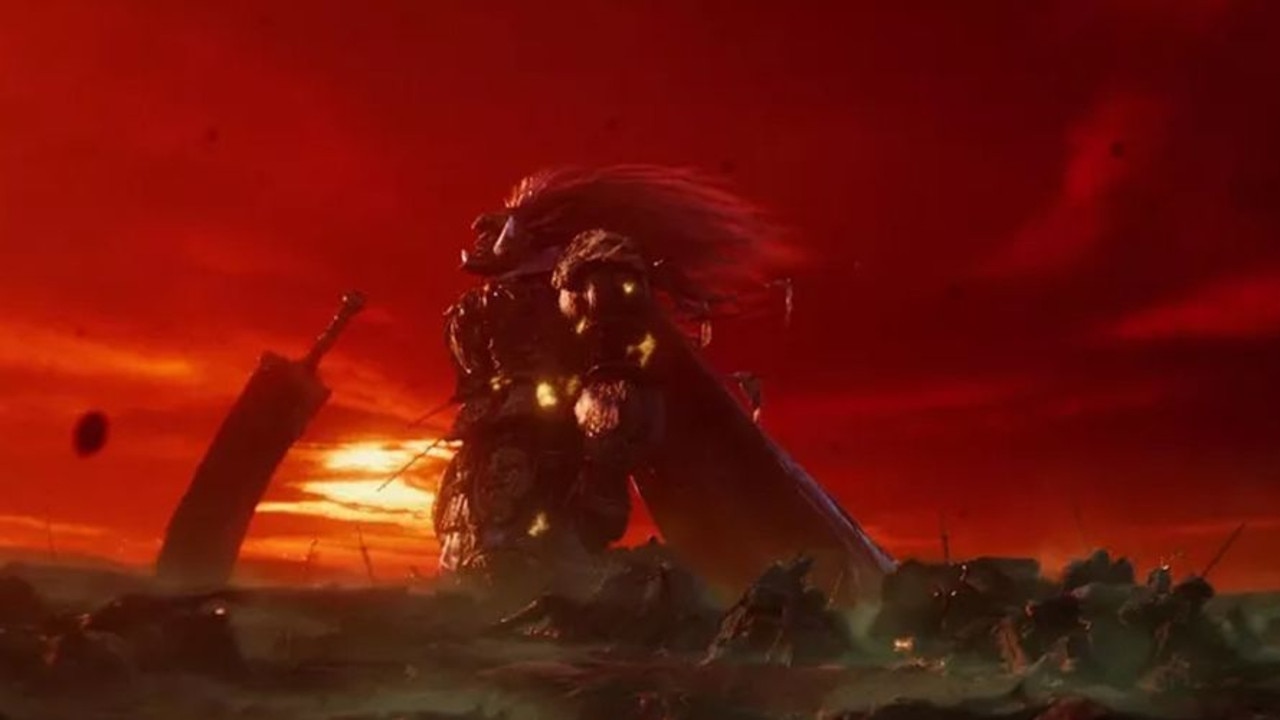
Crumbling Farum Azula and Leyndell Ashen Capital
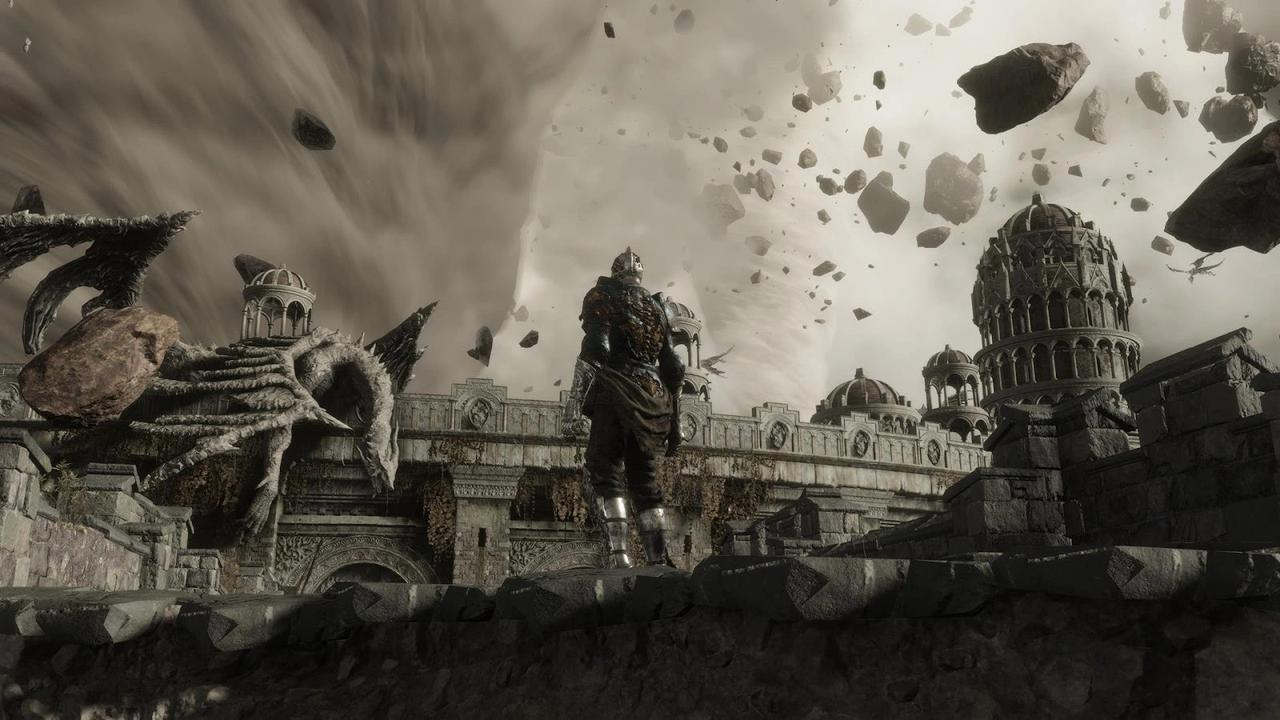
You’ll find yourself in another linear dungeon. This area houses the Godskin Duo boss fight, as well as an optional boss called Dragonlord Placidusax. Once Godskin Duo is down, you’ll be up against Maliketh, the Black Blade, and then you’re transported to the Ashen Capital for the final showdown beyond the Erdtree (assuming you can take down Godfrey, First Elden Lord first).
Written by Kirk McKeand on behalf of GLHF.

‘Insanity’: Thousands queue for $700 item
People around country are losing their minds – and have even lined up at midnight – over a brand new $700 item that has just launched today.

Donkey Kong champ’s $450k fight to clear name
A famous arcade gamer is suing an Australian content creator after claiming his reputation was damaged in a video uploaded to YouTube.

Donkey Kong champ’s ‘joke’ reputation: court
An American arcade gamer suing for defamation has been accused of having an “untrustworthy” reputation in the gaming community.