How to carve the perfect pumpkin for Halloween
Halloween might look a little different in 2020, but pumpkin carving is still a must-do activity for every Aussie household.
SmartDaily
Don't miss out on the headlines from SmartDaily. Followed categories will be added to My News.
Celebrating Halloween at home is causing many Australian households to splurge on decorations and treats.
And pumpkin sales ahead of Saturday’s spooky festivities have hit record levels as families buy them to carve and create what has been a tradition overseas for centuries: the jack-o’-lantern.
Plenty of supermarkets and fruit shops have been stocking up on the easier-to-carve Halloween pumpkins, which are grown specially for the annual scarefest.

Coles has sold up to 80 per cent of its lines of confectionery, costumes and pumpkins in the lead-up to Halloween, as children pester their parents to decorate the front yard.
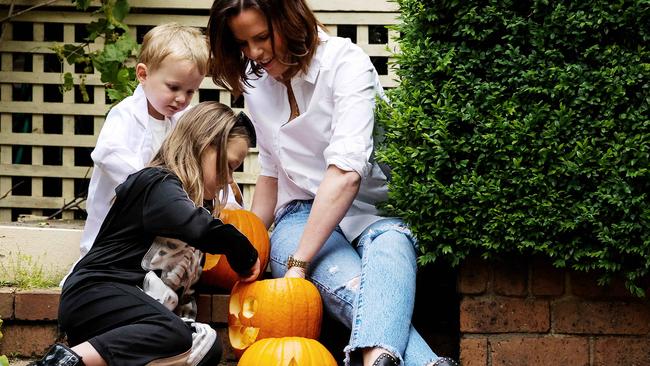
This year, Marnee Dixon is carving pumpkins with her children Claudia, six, and Malcolm, four, before welcoming a stream of trick and treaters.
“Making a jack-o’-lantern is a great opportunity for the kids to socialise, make a mess and show off their creative skills,” she says.
Here, Coles senior development chef and former MasterChef contestant Michael Weldon offers pumpkin-carving tips to bring your jack-o’-lantern to life.
PICK YOUR PUMPKIN
It’s important to put some thought into your pumpkin selection.
Weldon says a good carving pumpkin costs about $2.90/kg.
“They typically have flesh only a few centimetres thick, with a few seeds, making them easy to prepare for carving,” he said.
When it comes to size and shape, larger pumpkins with flatter sides are easier to place your stencil on but, really, it comes down to your design.

HOLLOW IT OUT
Before you can get on to carving, you have to prep your pumpkin.
“Cut out the top so that you can hollow out and clean up the inside,” Weldon says.
There are special pumpkin-carving knives so children can do some of the cutting, but without one of those it’s best that the adults do the work with a sharp knife.
Create a back-and-forth slicing motion to cut through the skin. The hole should be large enough to allow you to scoop out the centre.
Angle the knife to prevent the lid from falling into the hole.
This is the fun bit for kids: Using a big spoon or your hands, scoop out the seeds and all the stringy webbing that comes with them.
“A lot of kits come with a handy pumpkin scraper that will help you get out the seeds, but it also helps you to thin down the walls of the pumpkin,” Weldon says.
Save the seeds – they can be roasted on a tray with a little oil and salt as a delicious snack.

CREATE YOUR DESIGN
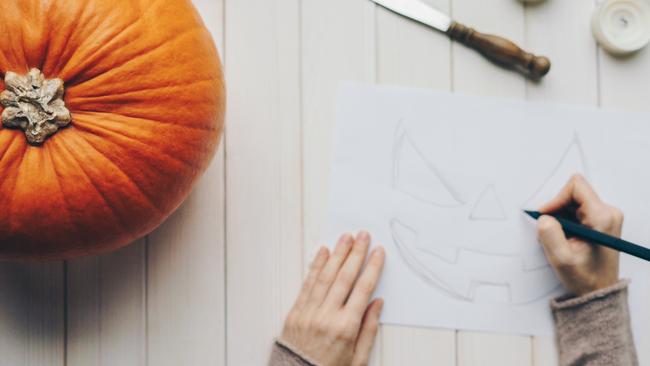
Weldon recommends drawing the shapes on the pumpkin first with a felt-tip pen, so you don’t make any mistakes.
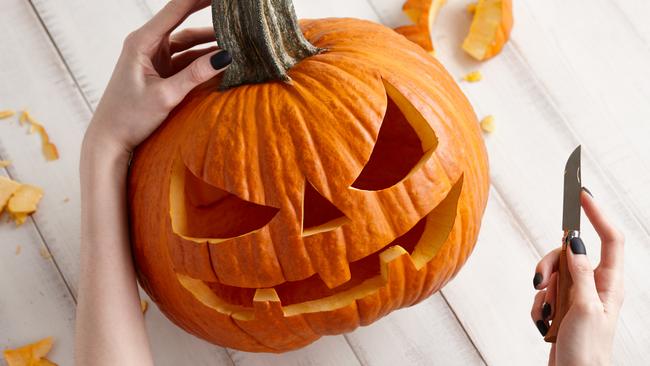
The sawtooth grin with triangular eyes and a nose is good for starters, but if you’re feeling ambitious, try some more elaborate designs, such as a spooky cat or ghost.
Websites such as Spookmaster and Zombie Pumpkins have some free patterns and stencils you can download to help.
“Set a pillar candle or tealight candle inside to give the lantern a great glow in the dark,” Weldon says.
He advises storing a finishing pumpkin in the fridge, wrapped in cling film. To keep the moisture in, coat the cut pumpkin edges in vaseline.
Spraying hairspray on the inside of your pumpkin will also help increase its lifespan.
WHAT YOU NEED FOR THE PERFECT JACK-O’-LANTERN
Killer blades: A sharp chef’s knife easily removes a pumpkin top and a paring knife creates frightening facial features. For curved shapes, such as scary eyebrows, the ideal tool is a tourné knife.
Ice cream scoop: For scooping out pumpkin guts, an ice cream scoop works wonders. Especially these newer models that are shaped like a spade and have a sharp edge.
Glow in the dark paint: Painting pumpkins is super fun, especially if you have glow-in-the-dark paint that will shine in your front yard on Halloween night.
Lights: Use a pillar candle or tea lights for lighting up your pumpkin. If you prefer not to have any kind of fire risk, you can go with electric tea lights.
Pumpkin carving kits: While your kitchen may be full of vegetable chopping utensils, none of them is quite right for carving. The basic kits from Coles are quite good and come with a scoop and different blades.
Stencils: The pumpkin carving rookie might not realise that a lot of designs you see have been done using online stencils. Visit ZombiePumpkins for well engineered designs marked with difficulty level. For a wide variety of free stencils with great beginner options, go to Pinterest, Pumpkin Pile or Pumpkin Lady.


