
I made my mum easy peasy gifts that she'll actually use. I hope.
"I did such a good job I want to recreate her gifts for myself."

Parenting
Don't miss out on the headlines from Parenting. Followed categories will be added to My News.
When it comes to gift-giving, I’ve always placed more value on the thought than the price tag.
I’ve never had a natural talent for craft, but I do have a can-do attitude and a Cricut Maker 4 (which thankfully makes up for the lack of talent when I need it to).
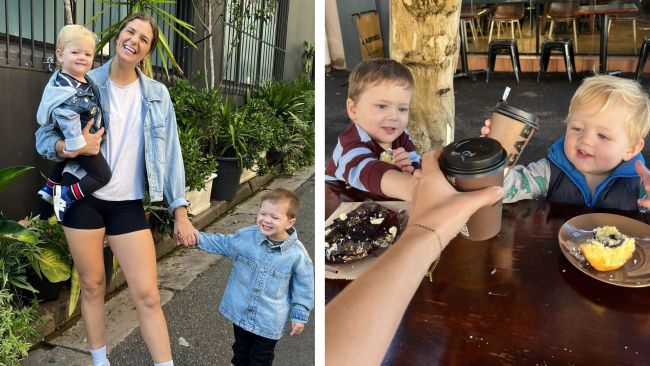
Ahead of Mother’s Day, I wanted to make my mum a personalised gift that celebrated both her role as my mum and as a grandmother to my son.
Want to join the family? Sign up to our Kidspot newsletter for more stories like this.
RELATED: How to make a simple and useful Mother's Day ring dish
A creative bone is not required
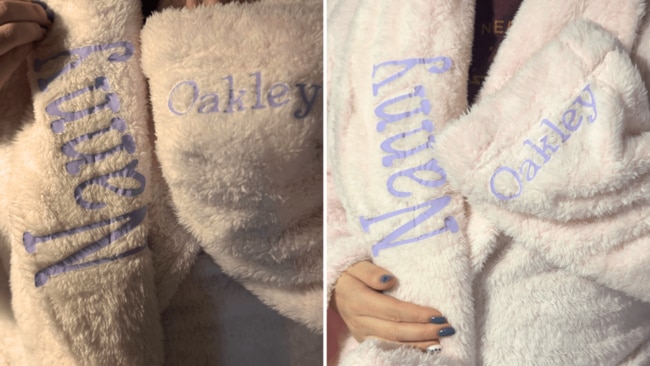
I thought about what she’d actually use, and at the top of my list was the classic dressing gown. It’s always a crowd favourite and honestly, it’s on my Mother’s Day wishlist this year, too.
Her favourite pastime? Knitting in bed while bingeing Netflix’s latest period drama about some royal who died 252 years ago.
So I decided to make her a personalised bed tray perfect for breakfast in bed, or just somewhere to rest her tea.
It’s a simple, failsafe craft and an affordable way to show Mum you’ve put more effort into her gift than just grabbing a voucher.
RELATED: 'I never thought I’d be opting out of Mother’s Day emails'
The dressing gown:
You’re going to need:
- A Cricut
- Cricut tools – a mat and weeder tool.
- Cricut iron-on vinyl
- A dressing gown (I picked one up from Kmart for $25)
- A computer/iPhone/iPad with Cricut Design Space installed
- An iron (I used Cricut’s Mini Press)
- Ruler
- Scissors
Instructions:
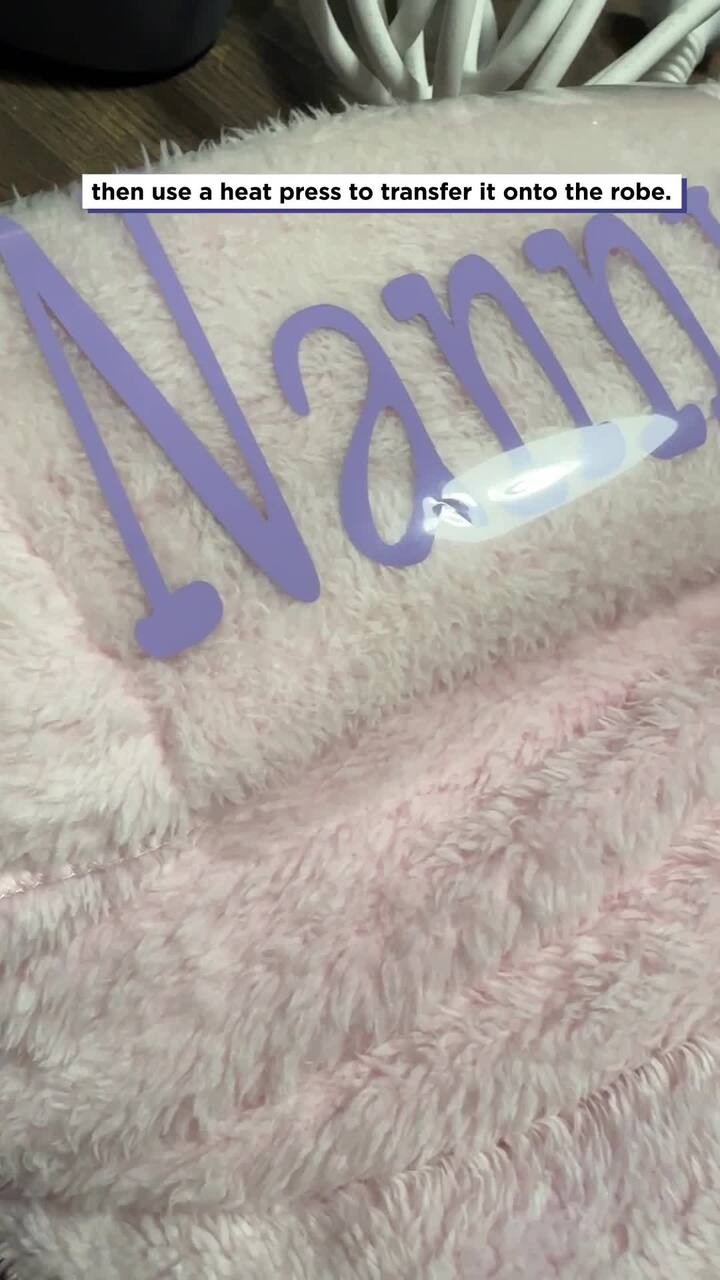
- Create your design in Cricut Design Space. I went with ‘Nanny’ for the collar and my son’s name, ‘Oakley’, for the sleeve.
- Measure the area on the dressing gown where you’ll place the decal, and make sure your design size in Design Space matches. You don’t want it too big or too small.
- Before cutting, make sure you select the ‘mirror’ option in the settings. This is essential for iron-on vinyl.
- Cut your vinyl using the Cricut machine, with the material placed on the mat.
- Use the weeding tool to remove any excess vinyl from the design.
- Position the design on the dressing gown where you want it applied.
- Heat up your iron. If you're using the Cricut Mini Press and the gown is thick, set it to the highest heat setting.
- Press the iron down over the design in slow, circular motions. Repeat this step until the plastic backing peels away cleanly, leaving the design adhered to the fabric.
RELATED: My tricks for getting what you really want on Mother's Day
The personalised bed tray
You’re going to need:
- A Cricut
- A ruler
- Cricut tools – a mat, weeder, and scraper
- Cricut permanent vinyl
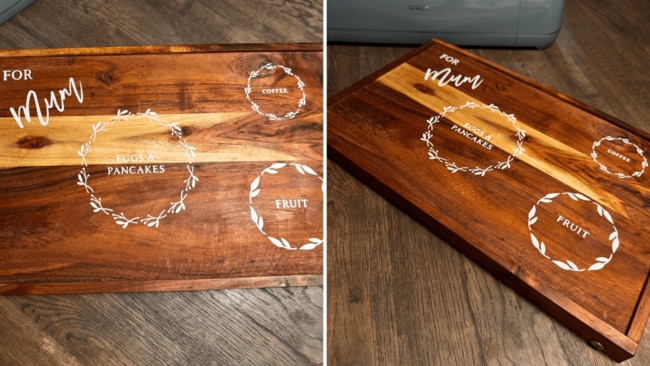
- A bed tray (I picked up a bamboo-style tray from Kmart for $20)
- A computer/iPhone/iPad with Cricut Design Space installed
- Scissors
Instructions:
- Create your text in Cricut Design Space and choose your preferred font. I added some floral circle elements from the design library to frame the text.
- For my tray, I went with labels like ‘For Mum,’ ‘Eggs and Pancakes,’ ‘Coffee,’ and ‘Fruit’. It’s really the perfect brekky spread.
- Use a ruler to check the size of each decal against your tray, and map out where you want them placed before cutting.
- Cut the decals using the Cricut machine, then use the weeding tool to remove any excess vinyl.
- Place transfer tape over the top of each design and use the scraper tool to firmly press it down. Apply good pressure to ensure it sticks.
- Peel back the transfer tape to lift the vinyl design, then position it carefully on the tray. Scrape over the design again to adhere it to the surface.
- Repeat the process until all decals are applied.
More Coverage


Originally published as I made my mum easy peasy gifts that she'll actually use. I hope.

‘What is this?’: Mum enraged by new sleepover act
“Hey parents, don't do this to other people. It sucks."
I don’t want to do something with my kids on Mother’s Day
"Spending time with my kids is a gift. It’s just not the one I want for Mother’s Day."