
The day Australians, Americans and British forces finally broke the Hindenburg line
THE Hindenburg line seemed for so long to be an unbreakable barrier, but a century ago that barrier was finally breached.

Today in History
Don't miss out on the headlines from Today in History. Followed categories will be added to My News.
THE Germans called it Siegfriedstellung, or the Siegfried Position, but their enemies, the Allies, knew it as the Hindenburg line. Named after German military commander Field Marshal Paul von Hindenburg, this formidable defensive line of trenches, concrete bunkers and barbed wire, behind the front lines, was created in 1917 after the costly battle of the Somme in 1916.
Knowing they were at a disadvantage in terms of firepower and men, the Germans fell back to construct the trench system to shorten their front line, allowing them to use fewer men to hold it. For months Allied forces threw everything they could at the Germans, sometimes taking the front line trenches but unable to break the Hindenburg line.
That was until September 29, 1918, 100 years ago tomorrow, when a combined force of Australian, British and American troops launched an attack that finally broke through at St Quentin Canal in France.
Although there were still some hard battles ahead, the breaking of the Hindenburg line was a significant moment, a tactical as well as psychological victory over Germany’s seemingly unbreakable defences.

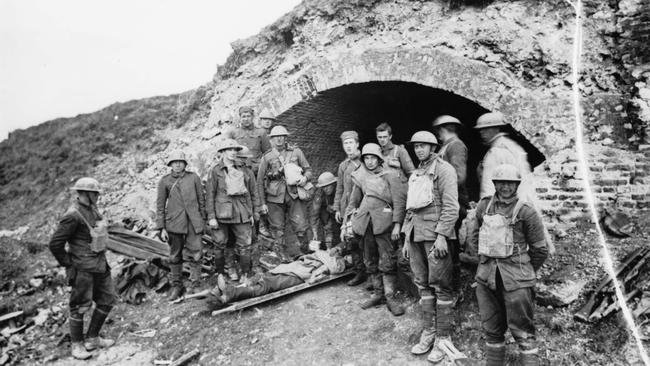
The St Quentin Canal was a canal system originally built in the late 18th and early 19th century as a connection between the Somme and the Scheldt rivers. The canal was used by the Germans as an extra defensive obstacle in front of that section of the Hindenburg line. It included a 6km tunnel between the towns of Bellicourt and Verhuille, a place where troops could cross, so the Germans built up their defences at that point.
But there were factors that made it particularly vulnerable. For one thing, at this section the Hindenburg line bulged west, leaving it open to attack by enemy artillery or a pincer movement. Its linear gun layout also didn’t allow the Germans to make proper use of their artillery as they had done in other areas by laying out their guns in a staggered pattern.
Allied commander General Sir Henry Rawlinson, who was in command of forces for this section of the Western Front, wanted Australian forces under the command of General John Monash to spearhead an attack on St Quentin Canal to exploit this vulnerable point.
With many of his divisions exhausted and depleted from recent actions, Monash could only rely on two divisions for the attack. But numbers were bolstered by American and British troops. Despite their lack of experience the Americans were fresh troops who got on well with the Australians.

On September 27 an attempt was made to capture ground considered ideal for the starting line for an attack. But it was unsuccessful because inexperienced American troops failed to properly clear out trenches and dugouts, allowing the Germans to retake the positions.
That meant when the assault was made on September 29 that position would need to be the first objective, making things that much harder. In the early hours of September 28, a massive artillery bombardment (that would last 24 hours) began. Using 1600 guns the Allied forces unleashed more than 900,000 shells on the German lines, including canisters of mustard gas.
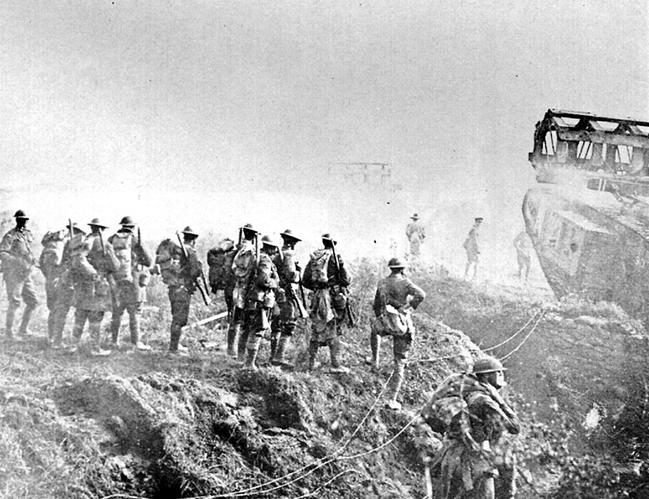
At 5.55am on September 29 the two American divisions were sent into action. On the northern edge of the battlefield it was nearly a complete disaster as all the tanks were put out of action and troops struggled to make their objectives amid a thick pall of smoke. But to the south, the American 30th division and the Australian 5th division managed to capture the town of Bellicourt. Further south the British 9th corps made the all-important breakthrough, crossing the canal thanks to an accurate, creeping artillery barrage, to breach the Hindenburg line.
The Germans soon realised they were in danger of being outflanked in their positions along the canal tunnel and began to retreat on September 30.
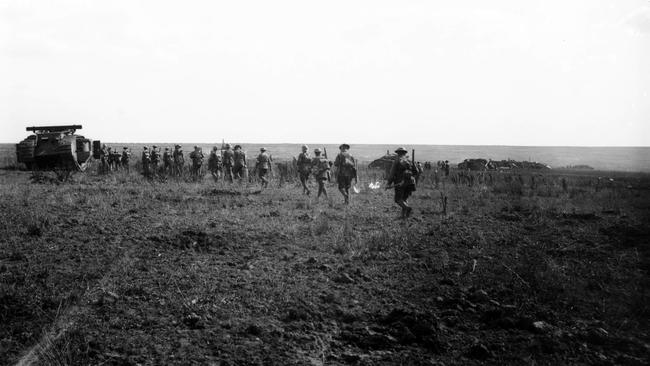
While fighting continued in the northern sector for several days, troops in the south were soon advancing to the Beaurevoir Line, 8km to the rear of the main Hindenburg line.
Soon a 17km hole had been punched through the German lines and the advantage was being exploited elsewhere along the Western Front.
Ordered to move on to the villages of Beaurevoir and Montbrehain, a week later the Australian infantry would fight their last battle of the war at Montbrehain.