Fun gardening projects for kids over the school holidays
From living teepees to seed bombs, the backyard could be the ultimate immersive games experience this school holidays for your energetic tribe. Here’s how to press play outdoors.
Home
Don't miss out on the headlines from Home. Followed categories will be added to My News.
Looking for ways to keep kids occupied, get them outside and off their screens during school holidays? Here are some fun gardening activities for the kids that you will all enjoy.
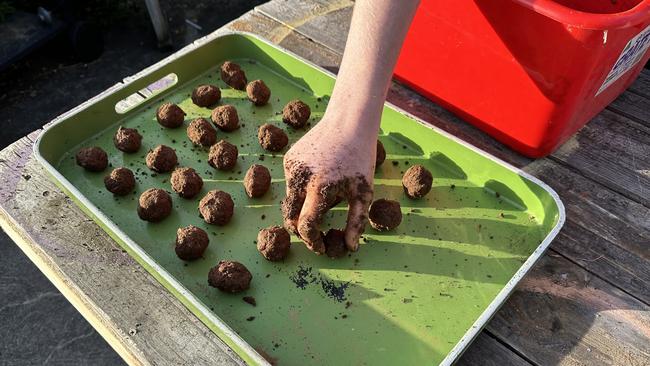
Seed bombs
Materials needed:
■ Four parts clay – dry, smashed up fine (from the garden, bentonite or potters clay)
■ One part fine compost – sieved home compost or commercial compost
■ A sprinkle of crushed fertiliser (optional)
■ Seeds (flowers, natives and even salad greens – gather your own or buy a packet of seed)
■ Water to moisten
STEP 1: Mix dry ingredients together and then use a squirter bottle to add water. You want to make the mixture moist but not too wet or soggy as you don’t want the seeds to germinate.
STEP 2: Gently form the mixture into balls – if you press too hard, you could harm delicate seeds and they won’t break apart as readily when they get moist.
STEP 3: Once they are rolled into balls, let them dry completely, somewhere undercover where it is cool.
TIPS: You can scatter these seed bombs around your own garden, ideally before you get decent rains, however they can sit there in your garden until the time is right for them to ‘explode’. Seed bombs also make great gifts to share with friends. If you are unsure how long the seed remains viable for, ideally use them within a year. When there is sufficient rain, the compost and clay expand, the balls crumble, and the seeds germinate.
The dried seed ball can sit dormant for as long as the seed is viable, but for best results deploy them in the following season.
Succulent fun
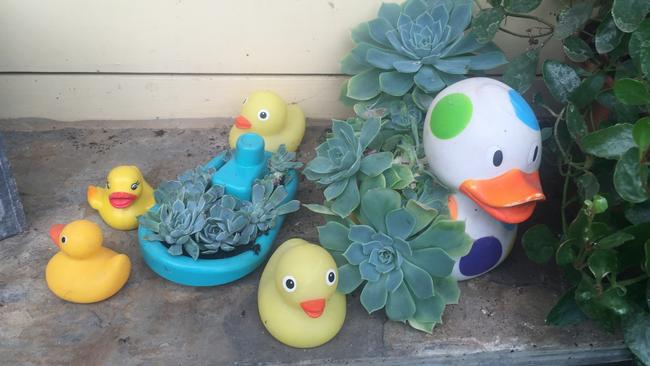
Repurpose your kids favourite toys (from sandpit toys, rubber duckies to prams and wheelbarrows), rubber boots or leather shoes, and quirky containers as succulent planters. Make sure to add drainage holes to the receptacle, add some good quality potting soil and then plant succulent cuttings or divisions. Older kids can get more creative with some technical help and make succulent picture frames, succulent bird cages and even succulent cushions on old chairs otherwise destined for the dump.
Some kids may also enjoy watching the process of growing new succulent plants from leaf cuttings.
Cubby Teepee
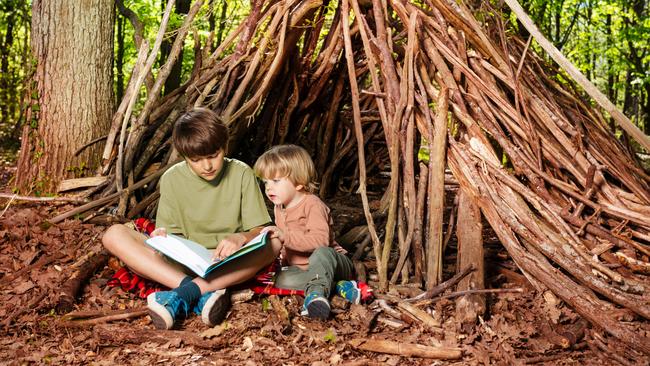
Make a living cubby in a sunny area of your garden using stakes tied together at the top and grow climbing vegies or flowers up them. In the warmer months, climbing beans work well, and then you can replant with climbing peas or sweet peas in the cooler weather. Mark out a circle 2-3m across and prepare this ring of soil by removing weeds and adding in compost. Tie the ends of 10 two-metre-high bamboo stakes together and spread them to form a teepee, leaving a slightly wider entrance area. Push the stakes into the ground securely and weave string between them to create extra support for the climbers. Plant seeds on the outside of each stake, water well and watch as they germinate and grow up to create a secret cubby.
Sunflower spiral
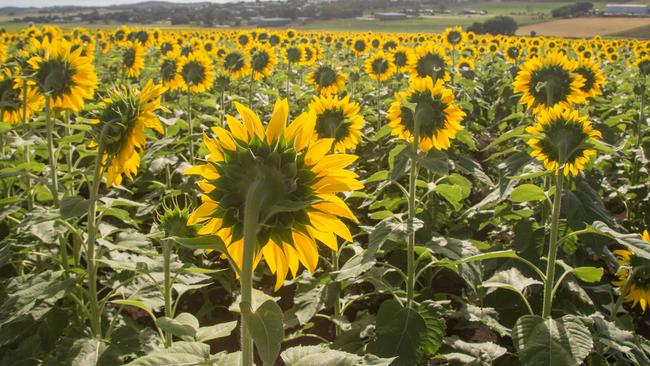
There is something fun about walking around a spiral, so create a sunflower spiral in the backyard. It might not look much to start with but will be heaps of fun when the sunflowers grow up and are taller than the kids themselves. For a more permanent installation, make a log spiral using wooden stepping stones, which are fun for kids to balance or run along, while also developing gross motor skills. They are easy to install if you have a chainsaw and access to wood, and they can be moved about to change the pattern.
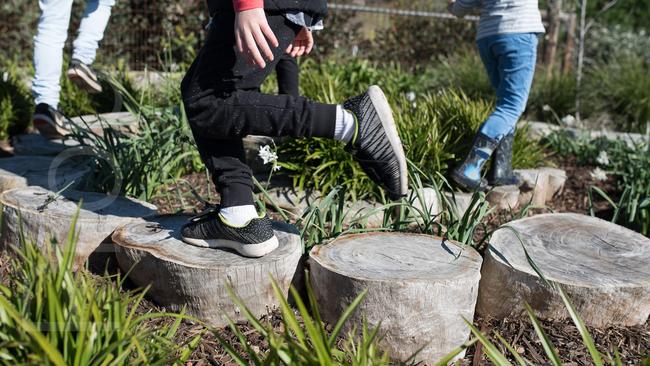
Use hardwood log cuts and dig them in securely so that they will not topple over when kids run or jump on them. In our garden, we used red gum cuts to make a log spiral and then I planted one side of the logs with a dwarf Dianella and the other side with jonquil bulbs for seasonal interest. If you have more space and access to wooden slabs, you could also make a more complex labyrinth.
You could also make a scarecrow, a vegie or herb garden, a native bee hotel, or with woodworking assistance, make a nesting box for birds, bats and possums. If the weather is not nice outside, look for garden themed activities which can be done indoors, like making grass heads, growing cress in eggshells with faces drawn on them, making seed tapes, paper pots, terrariums, kokedamas (an ornamental plant) and more.
Seed paper
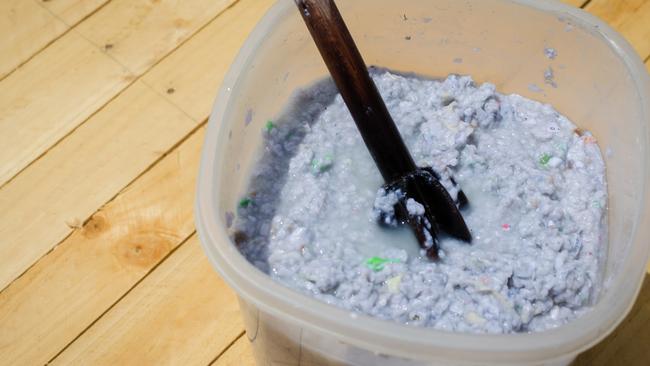
Make homemade seed paper that grows into flowers when it is planted. Make paper shapes and use them as gift tags or decorations.
Materials needed:
■ Paper for pulping – use recycled paper, ideally coloured but avoid glossy paper
■ Colour – use coloured vegie juice like beetroot, food colouring or turmeric
■ Blender (adult supervision required)
■ Seeds (flowers, natives and even salad greens – gather your own or buy a packet of seed)
■ Cookie cutters
■ Screen – fine mesh or even a splatter screen
STEP 1: Tear paper into little pieces and place them into a bowl with warm water. Soak overnight or for a couple of hours. Blend the paper into a pulp in a blender and add colour as desired.
Drain excess water from the mixture, without squeezing it dry.
STEP 2: Place cookie cutter shapes on the mesh or screen and spoon the mixture into the shapes. Push the mixture into the shapes and when you are happy with the shape carefully remove the cookie cutter. Scatter a spoonful of seeds on top of the shapes and press the seeds in just enough to stick to the mix.
STEP 3: Leave the shapes to dry somewhere under cover.
STEP 4: You can write on these shapes and use them as gift cards or just hang them as decorations.
When the recipient, or you, wants to plant them, simply place them on prepared ground, cover with a thin layer of soil, water well and keep moist until the seed germinate.
MORE: ‘How to keep the passion burning’: Selling Houses Australia garden guru Dennis Scott


